


Implantology
Dental Restoration
Digital Dentistry
Dental Labrotary
Implant in the upper and lower second molar

HAPPYTOGETHER
Views : 6,159/ Jan, 09, 2023
Views : 6,159/ Jan, 09, 2023
<GCpbc>
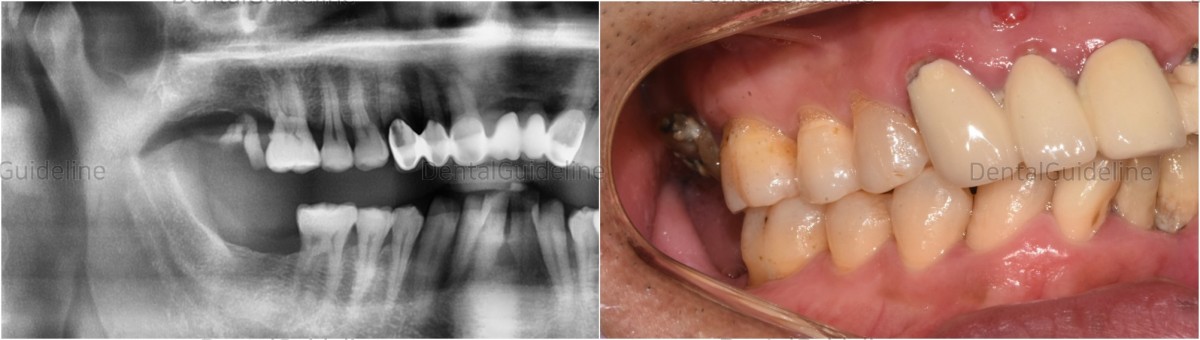
As a patient who needs implants in several parts, it was decided to complete the right side first to correct the occlusion in one part and to solidify the vertical stop.
 - Implants
are required for the upper and lower second molars.
- Implants
are required for the upper and lower second molars.
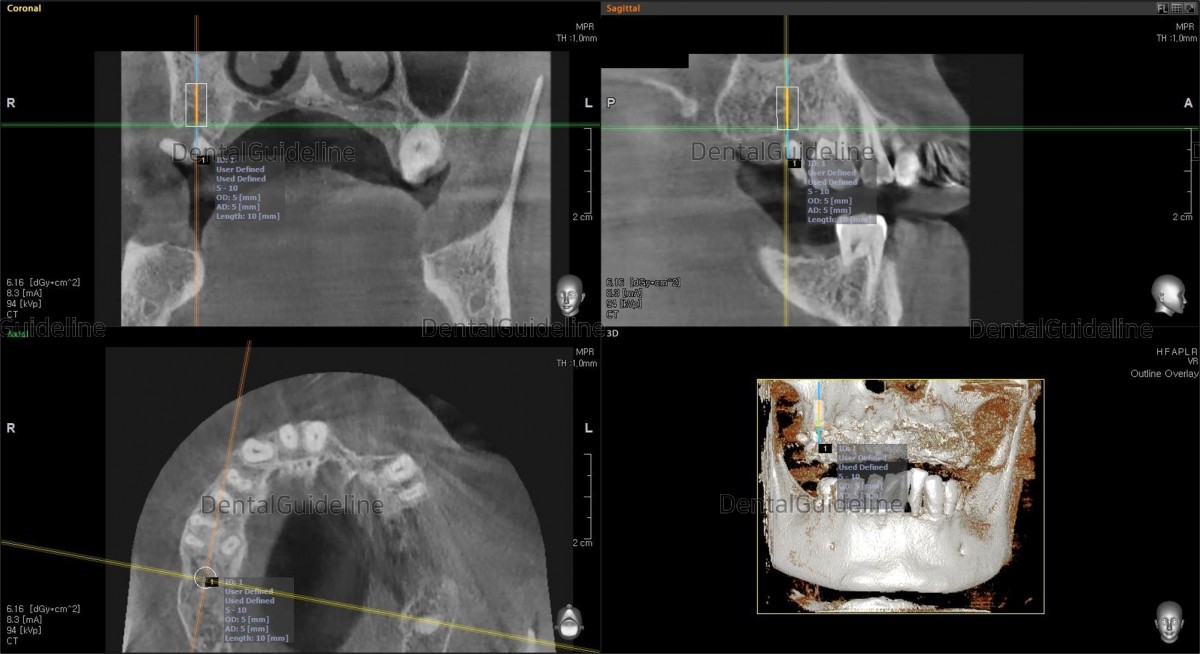
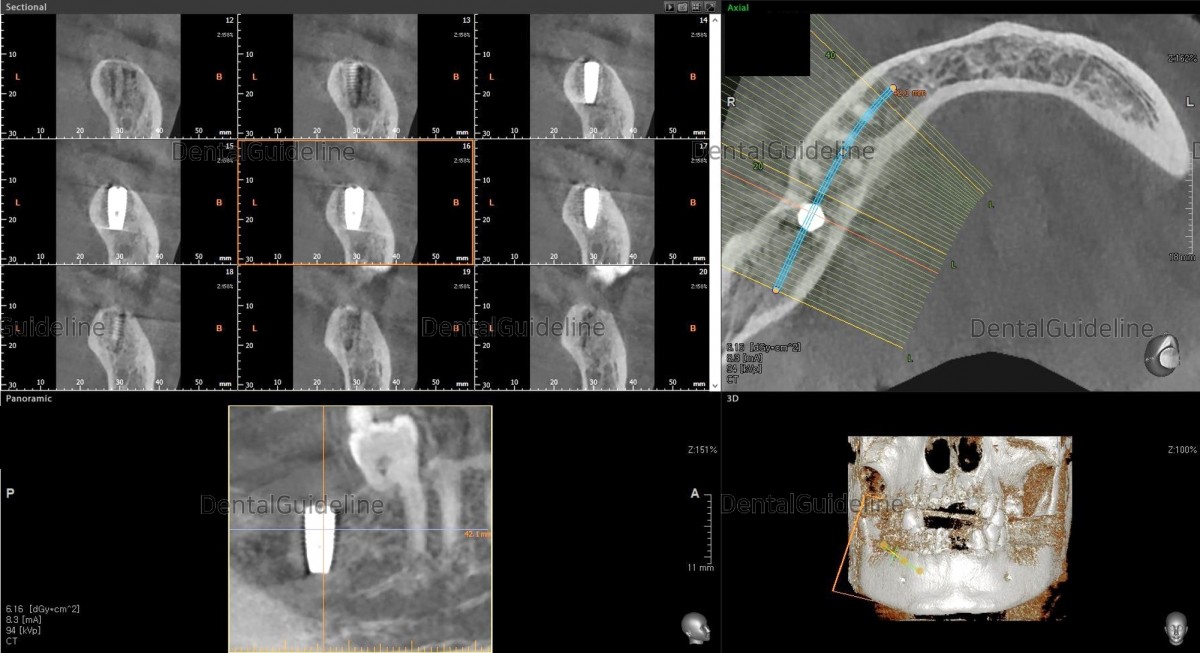
- Simple simulation on the CBCT image.
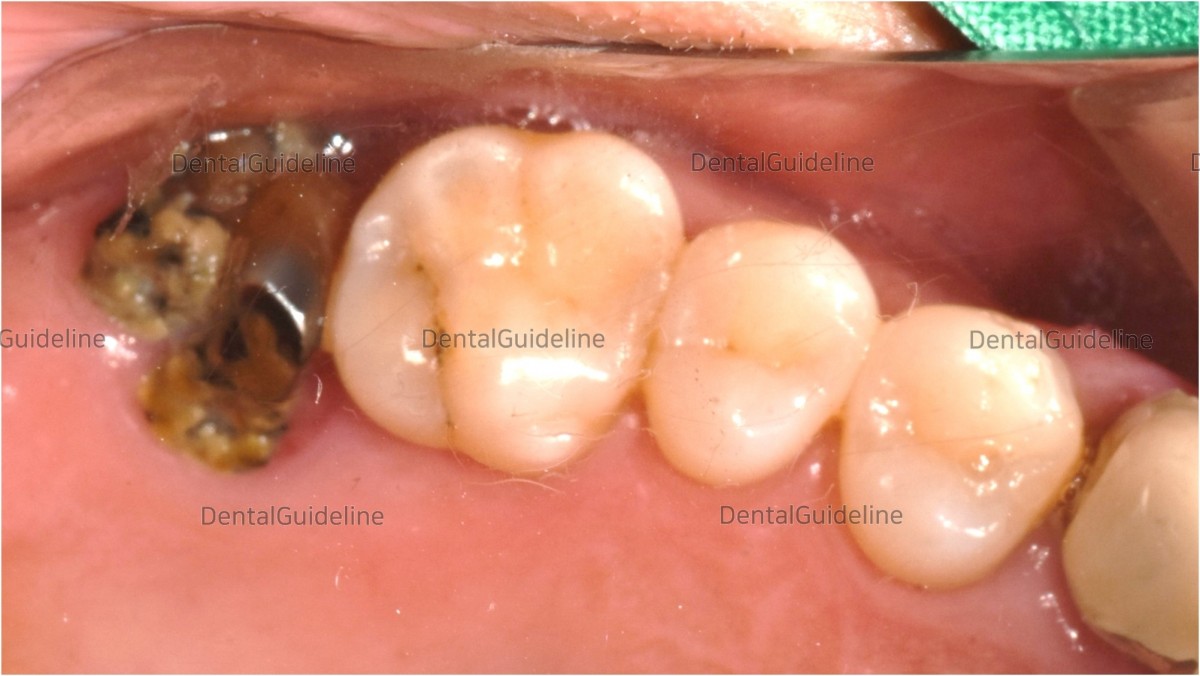
-Pre-op intra-oral view.
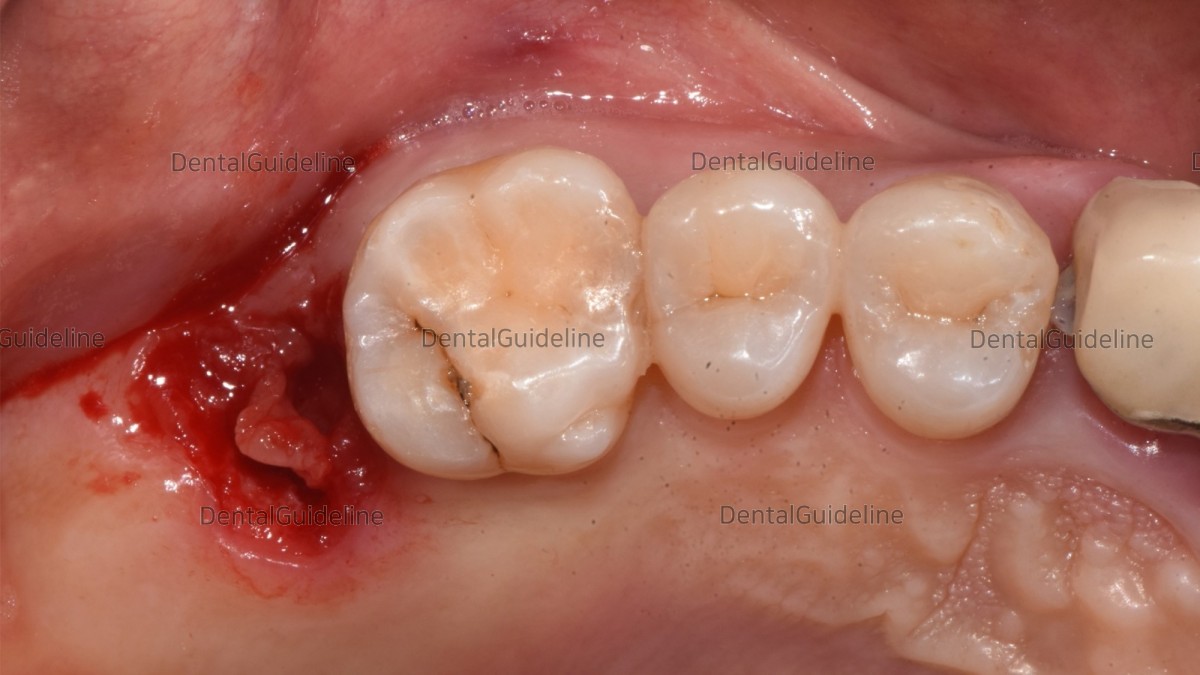
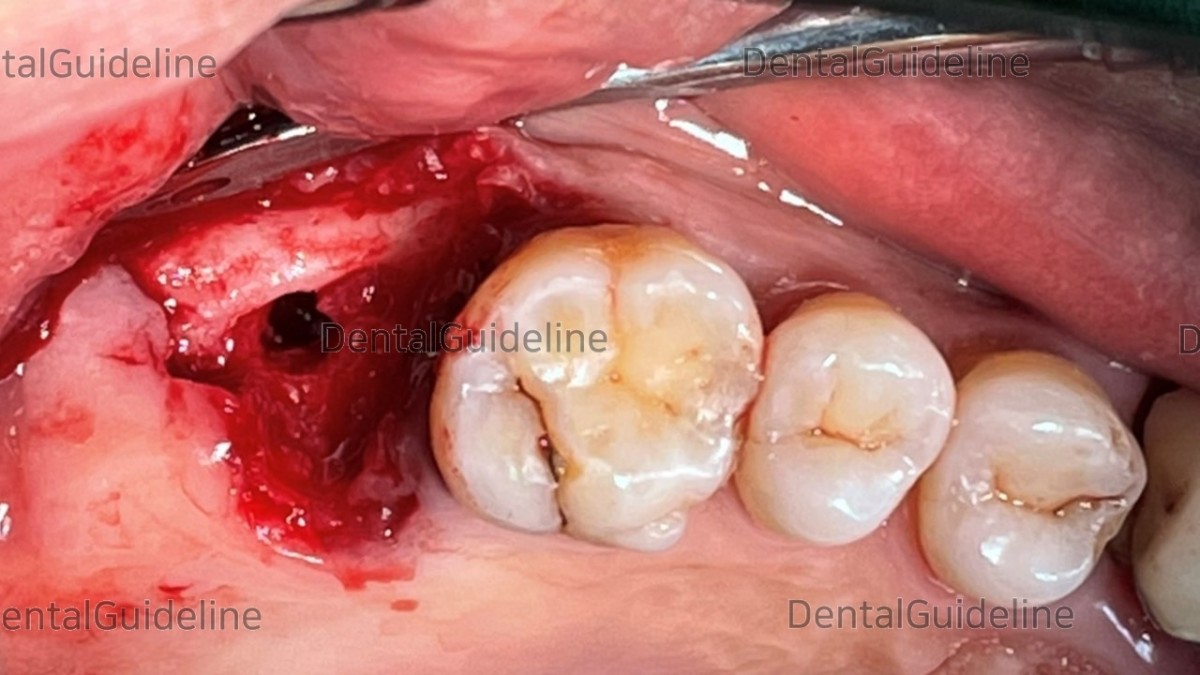
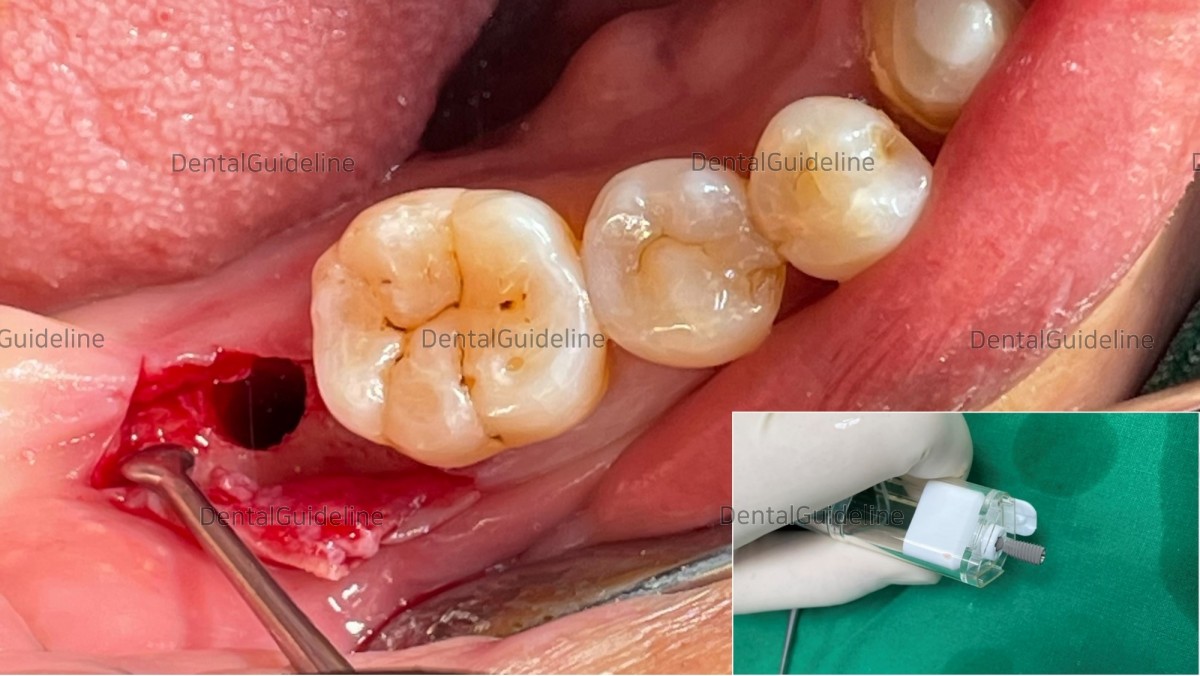
- Intra-oral view after extraction.
- Osteotomy (serial drilling but under-drilling).

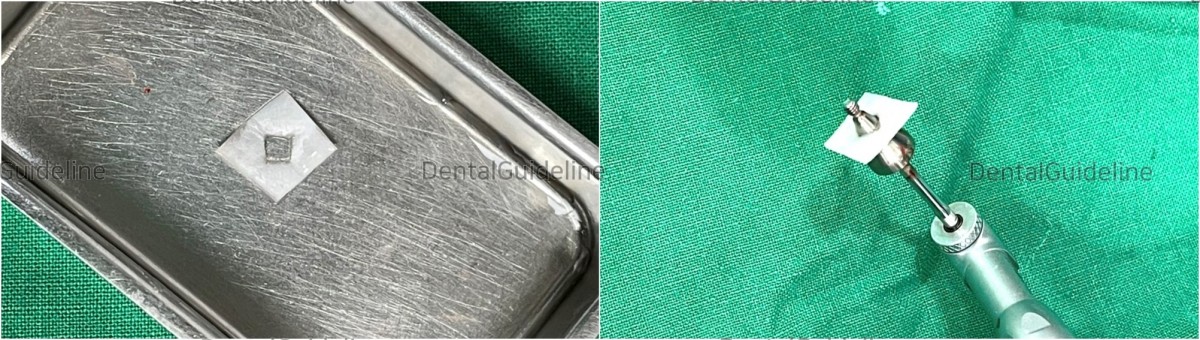
- Arum Implant NB1 Ø5.0*L11.5mm.
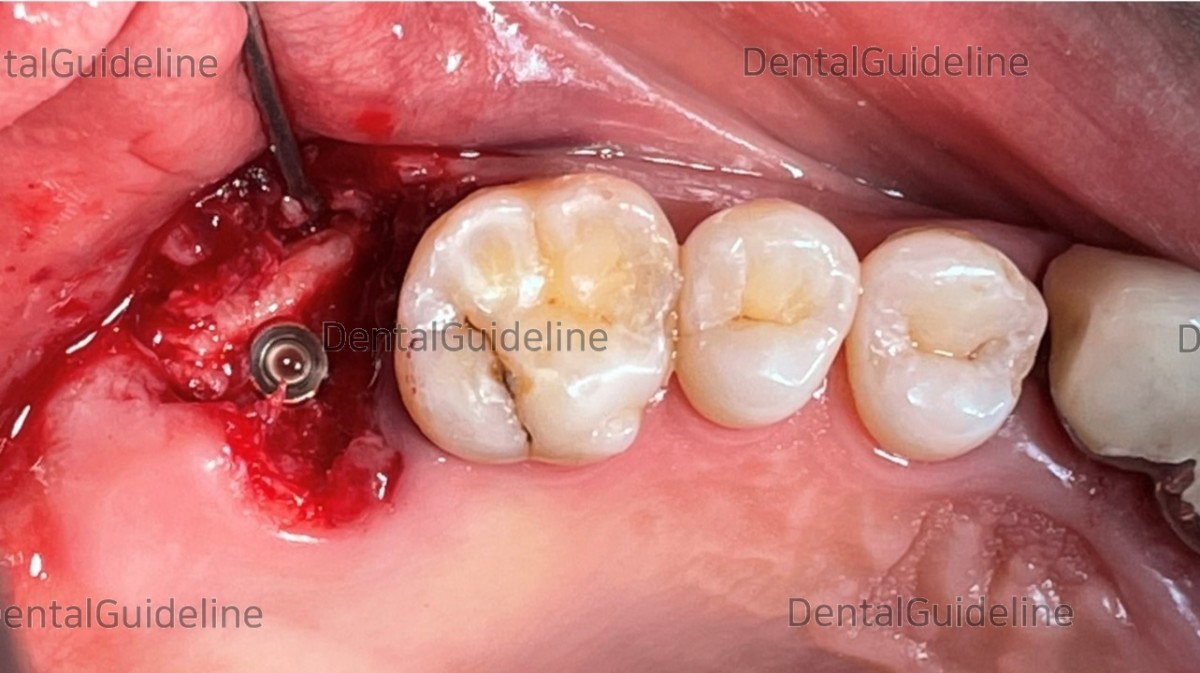
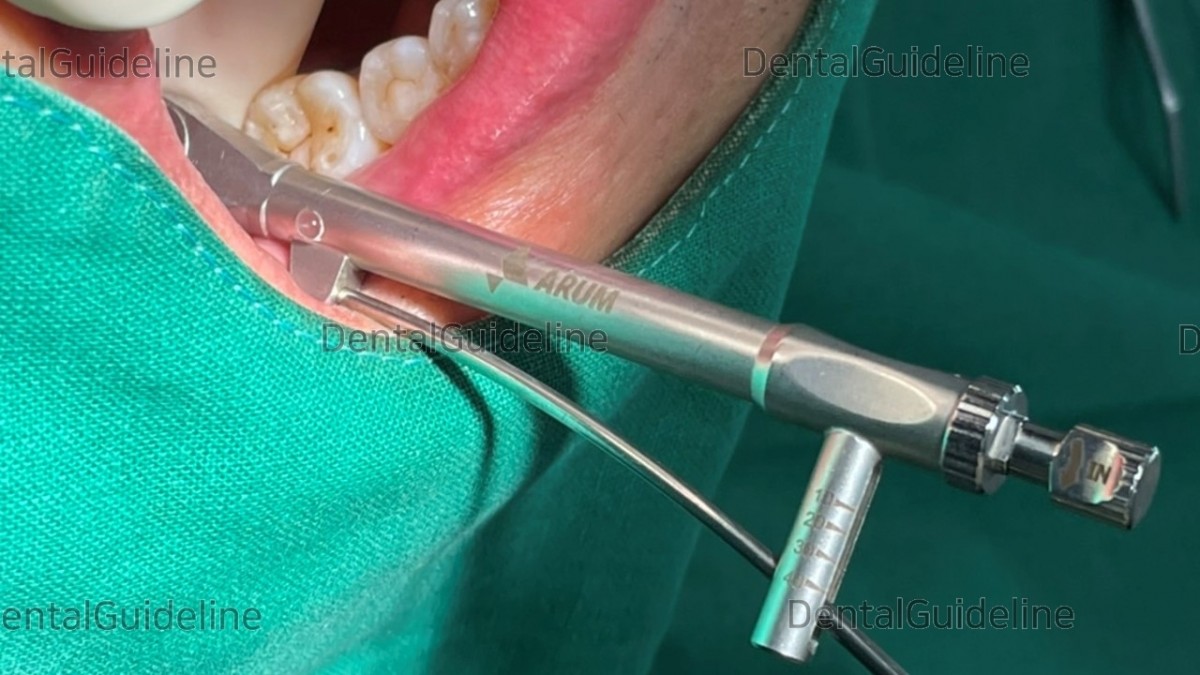
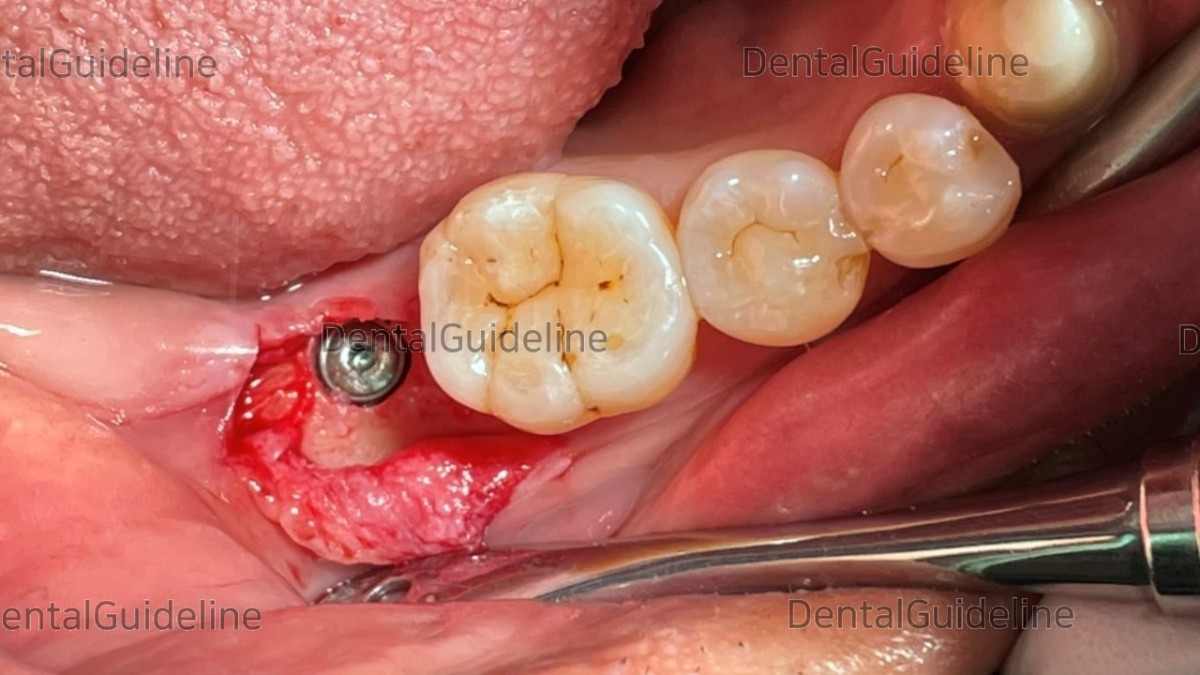
- fixture placement.
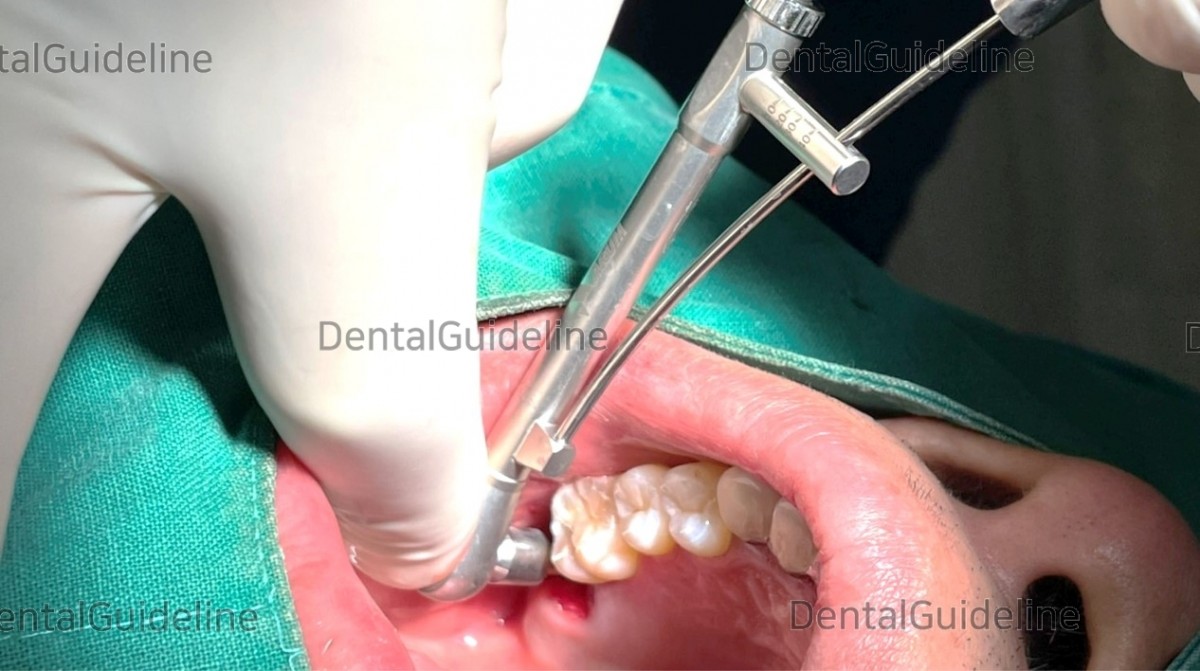
- Check the initial stability (50Ncm).
-Collagen membrane and HA.
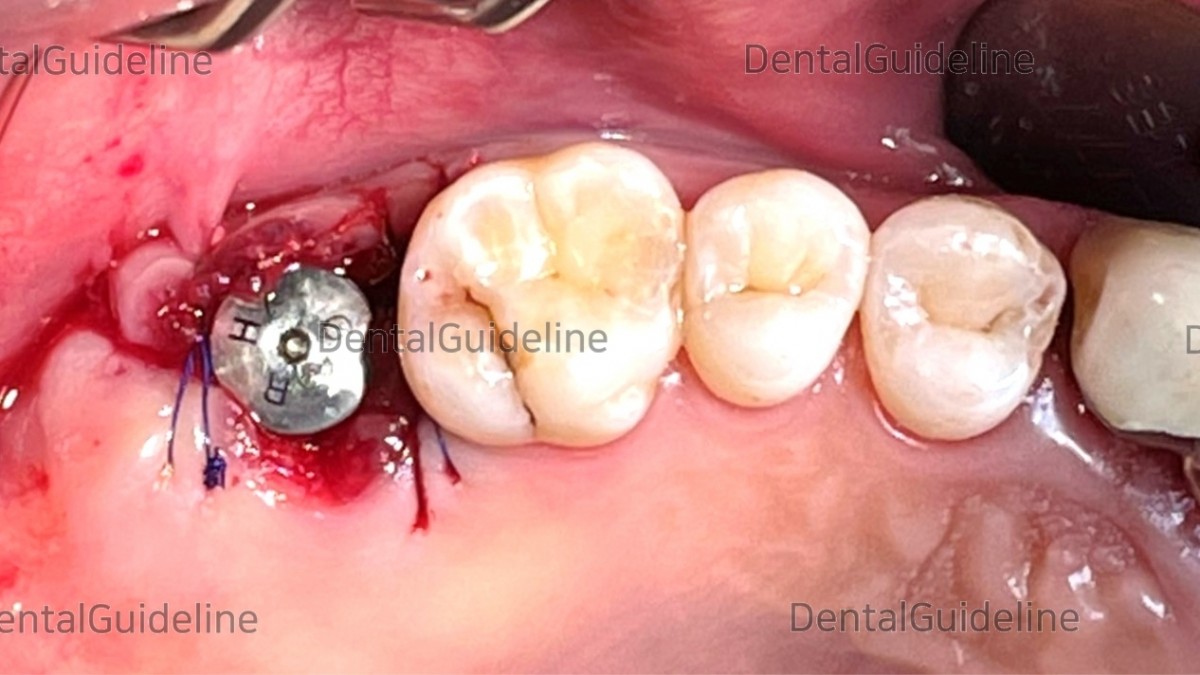
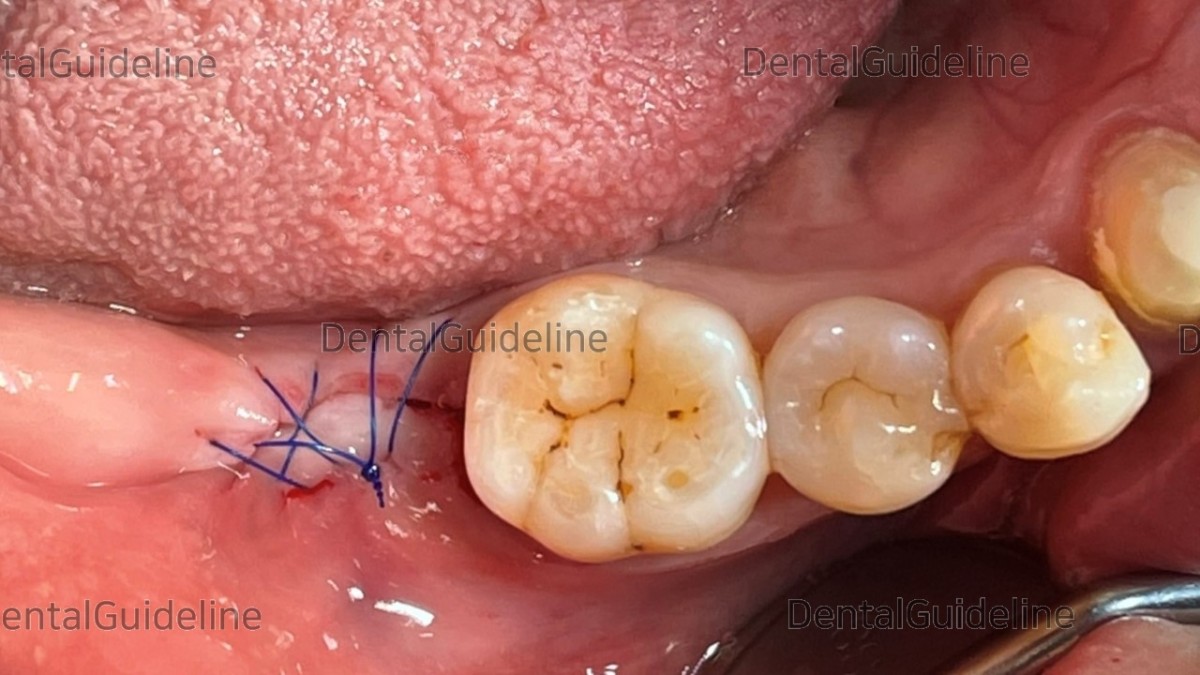
- Suture.

-Post-op CBCT.
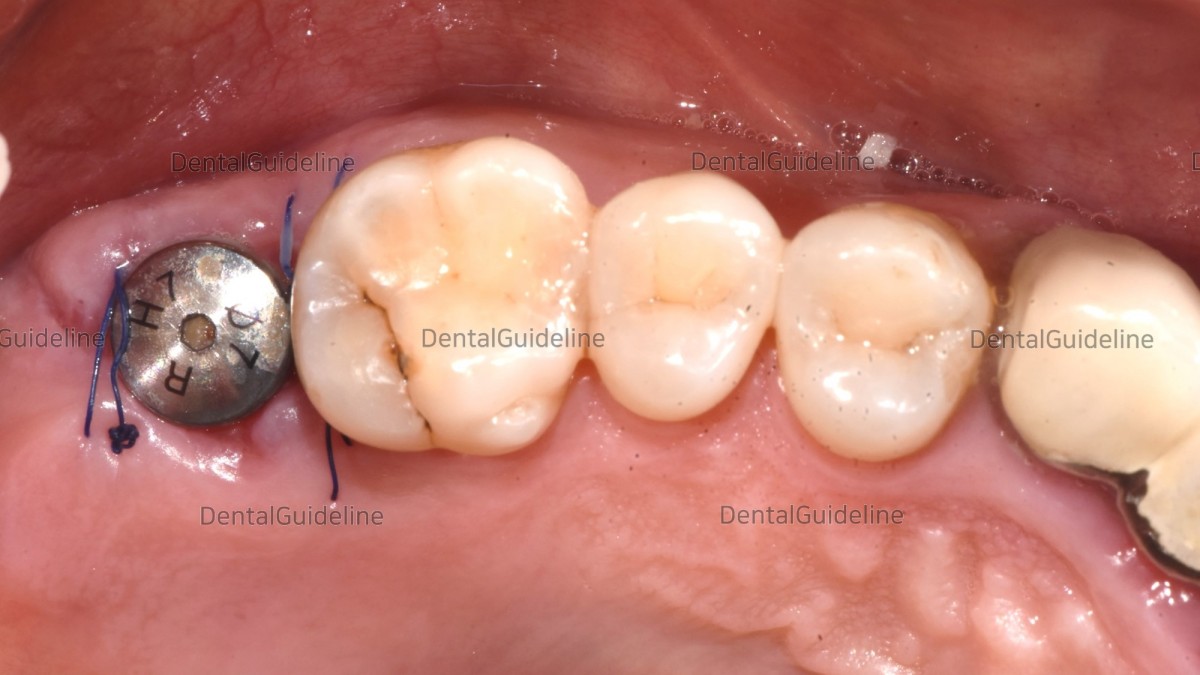
- 2 weeks post-op. photo before suture removal.
- pre-op intraoral photo. 4 months after implant placement of opposing tooth.
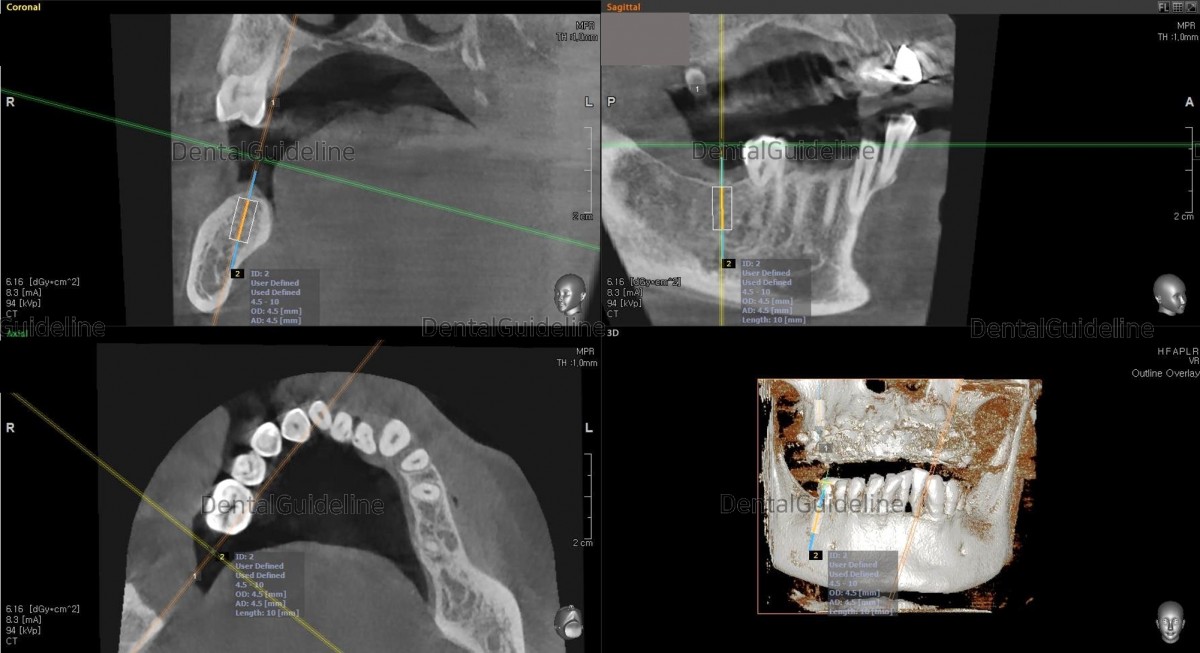
- implant surgery was simply simulated on the CBCT scanned image.
-serial osteotomy.
-The initial stability of the fixture was good enough.
- Implant was placed in the final position. Arum Implant NB1 5*10
- suture
- post-op CBCT.

- 3 weeks post-op. before the stitches out. Due to the patient's schedule, suture removal was delayed.
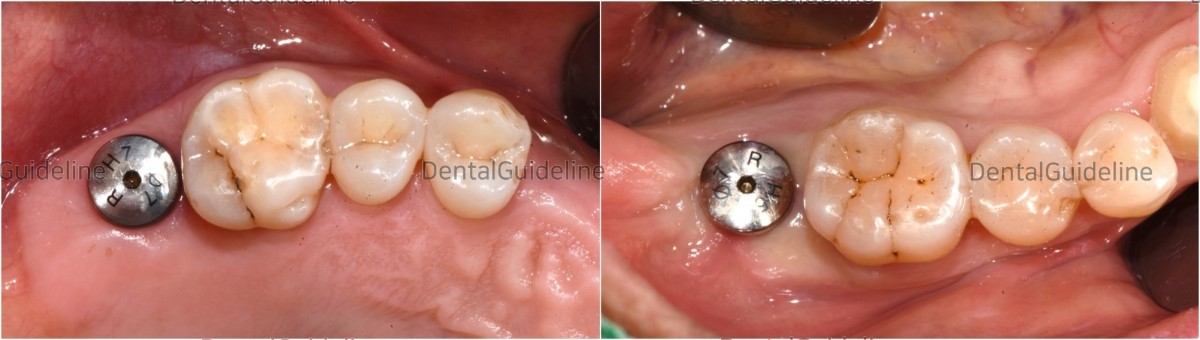
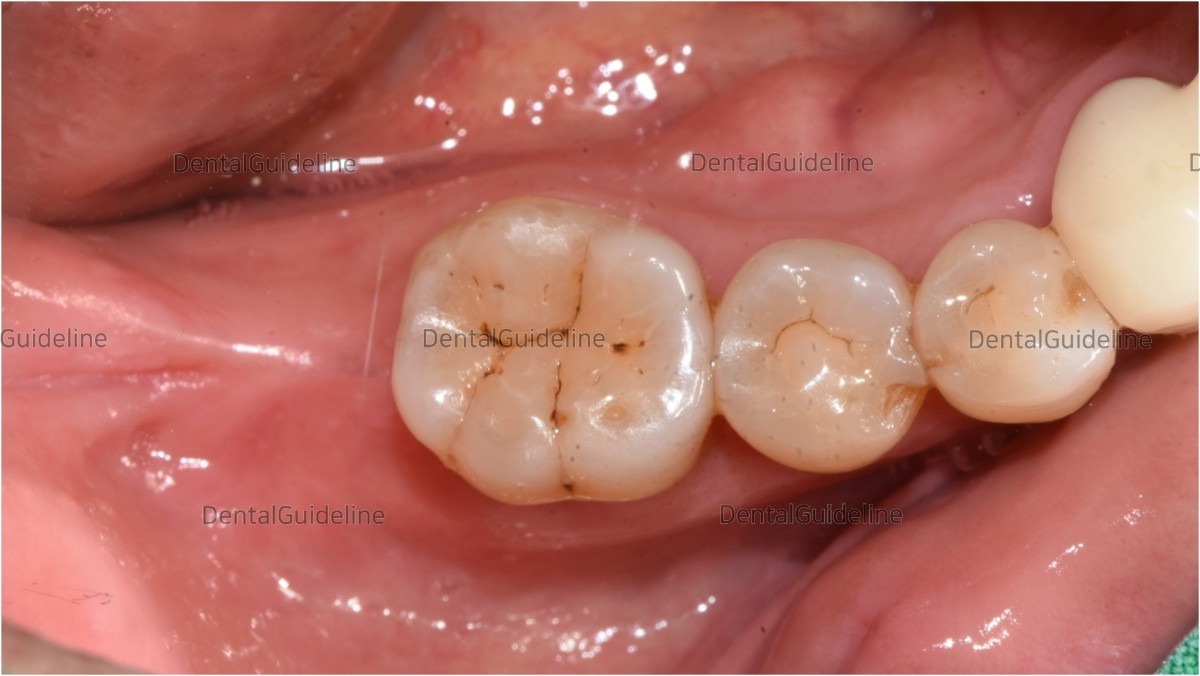
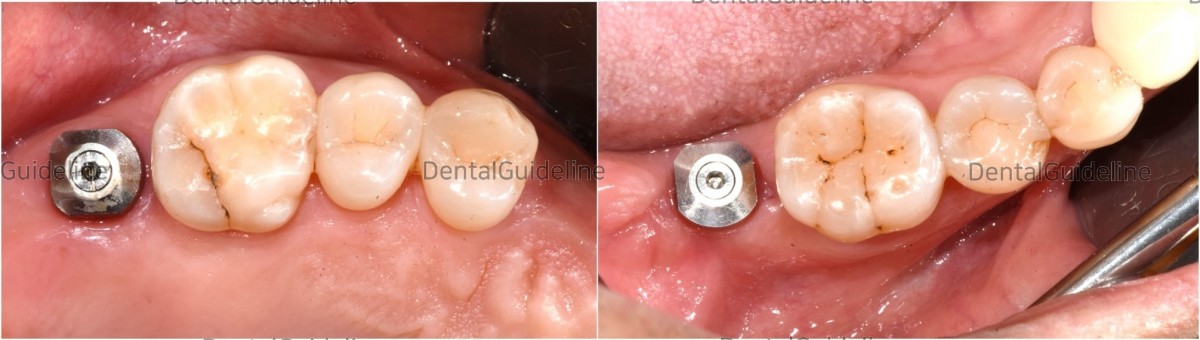
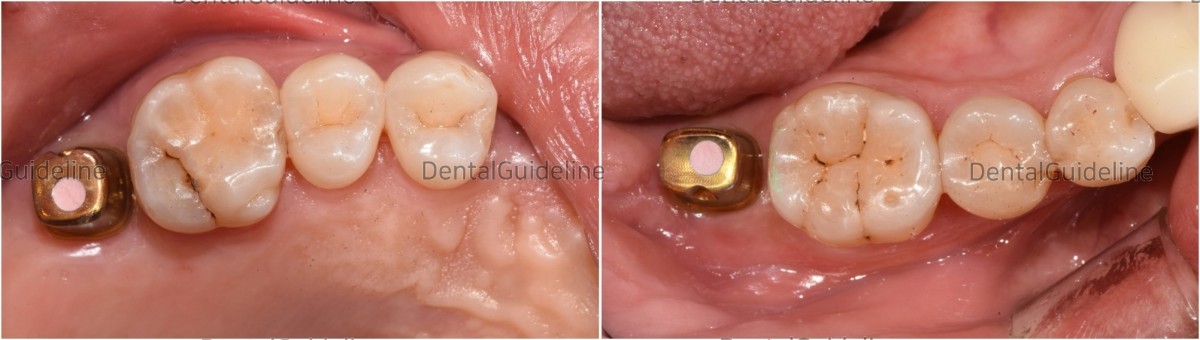
- Intra-oral view on the day of impression taking.
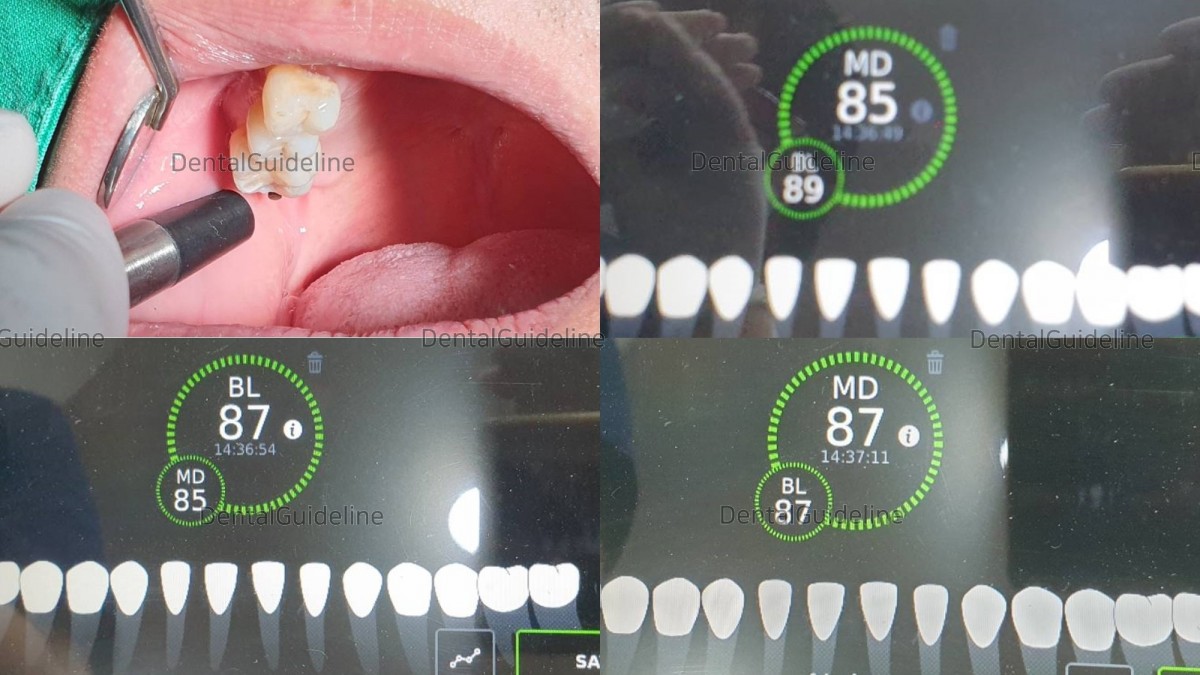
-ISQ reading on the impression-taking day. 6 months after implant surgery.
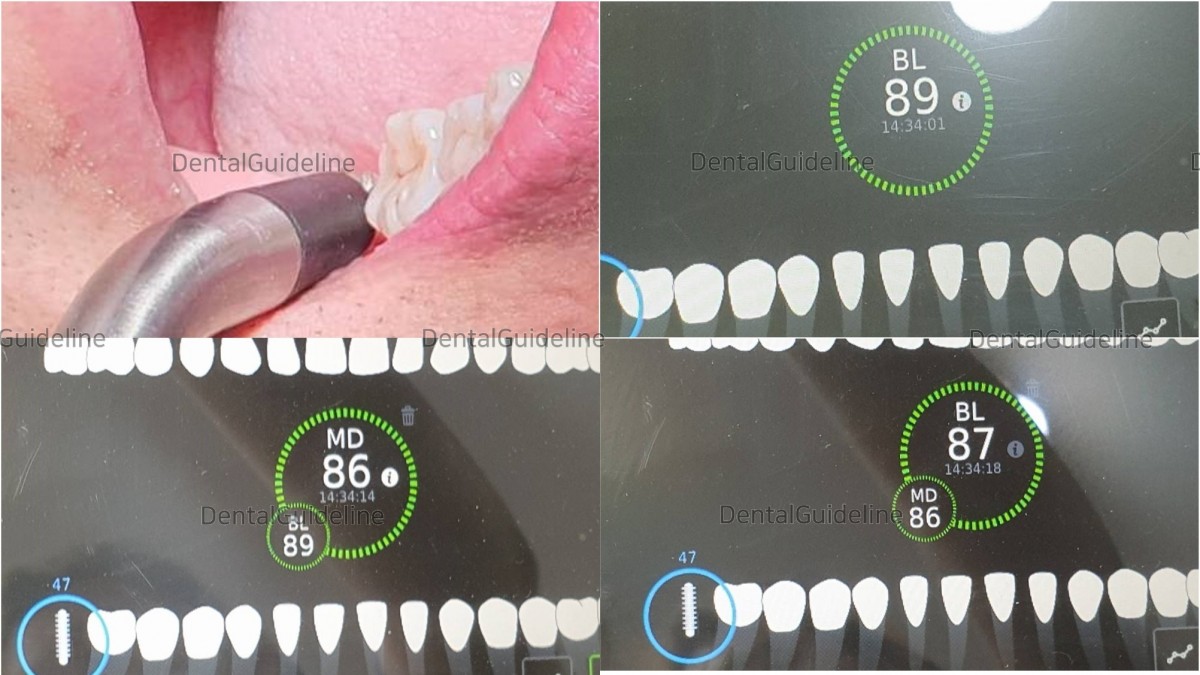
-ISQ reading on the impression-taking day. 2 months after implant surgery).
- Scan abutments were connected to the implants for digital impression.
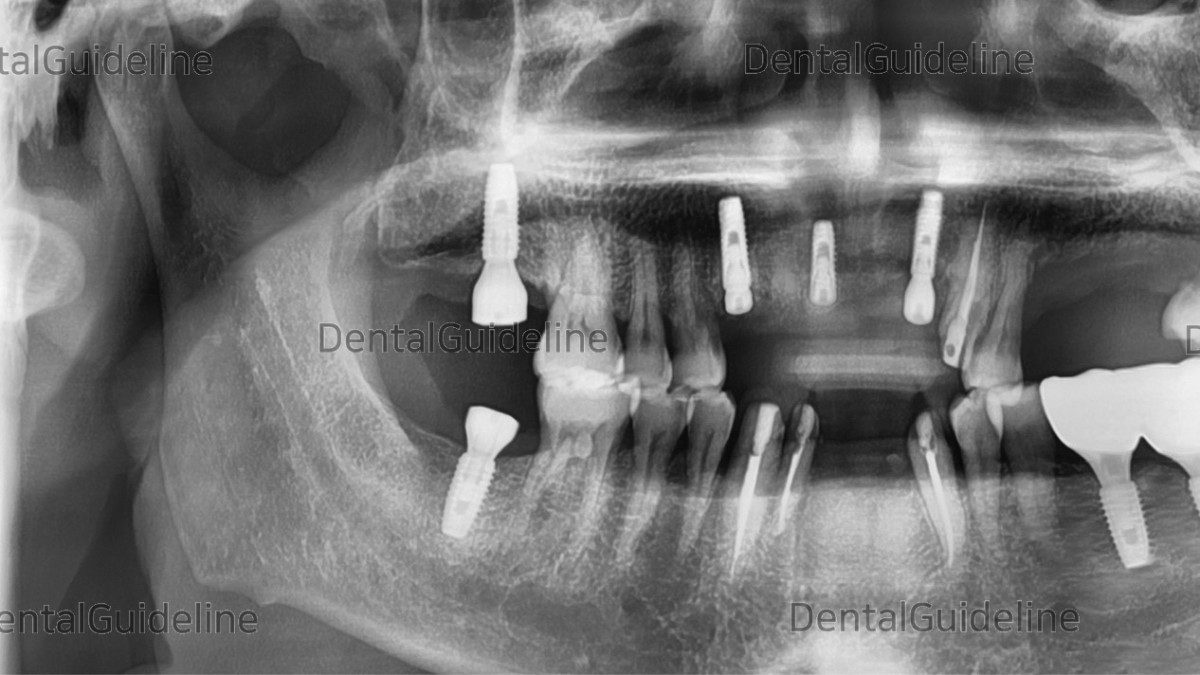
- A panoramic radiograph was taken to verify the secure connection between the scan abutment and the fixture.
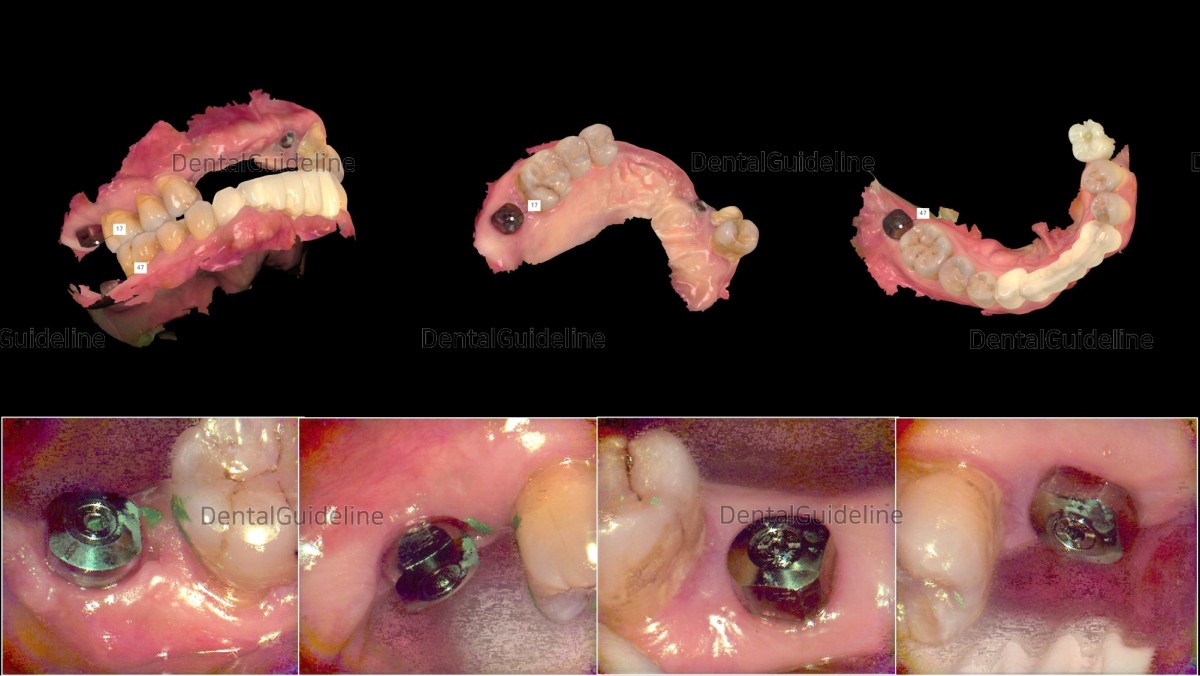
- Scan abutment was connected to the implant for digital impression.
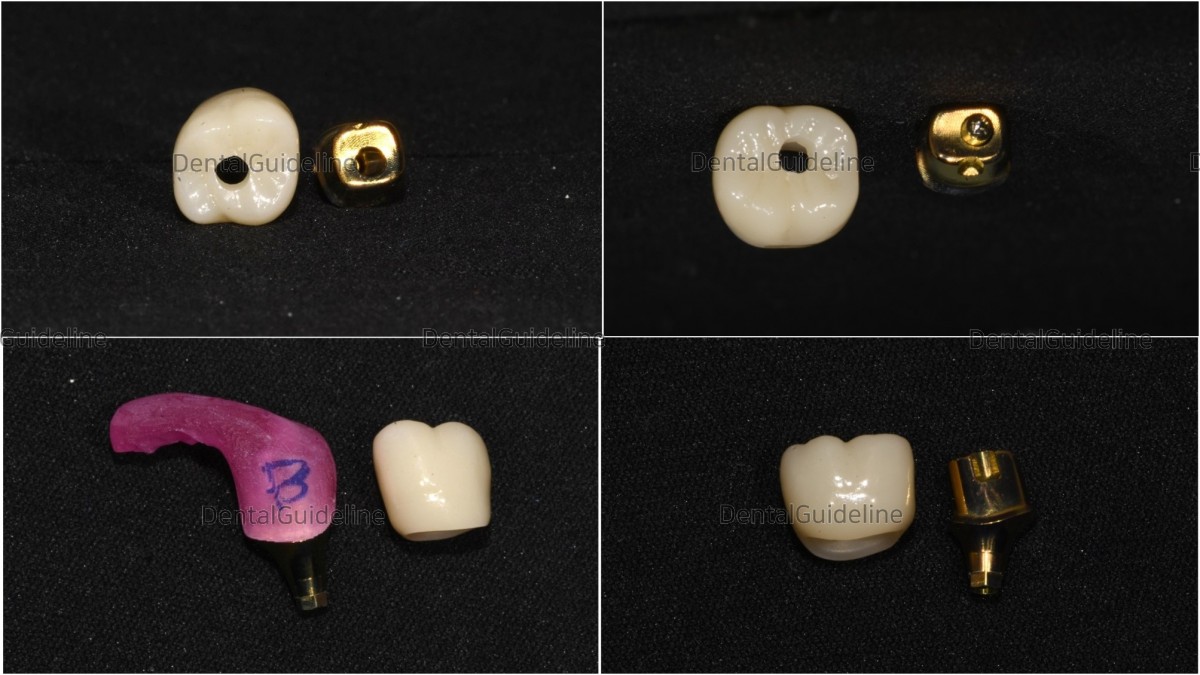
-Custom abutment and zirconia crown (upper & lower molar).
-Custom abutment connection.
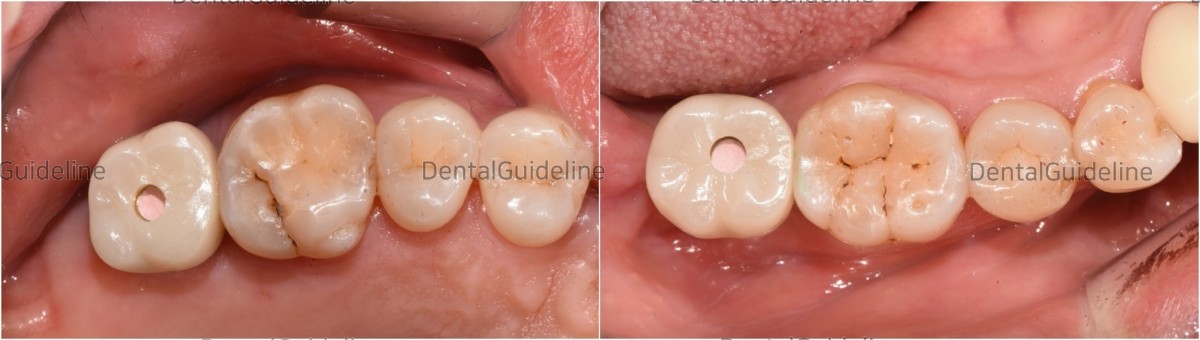
-Seating trial.
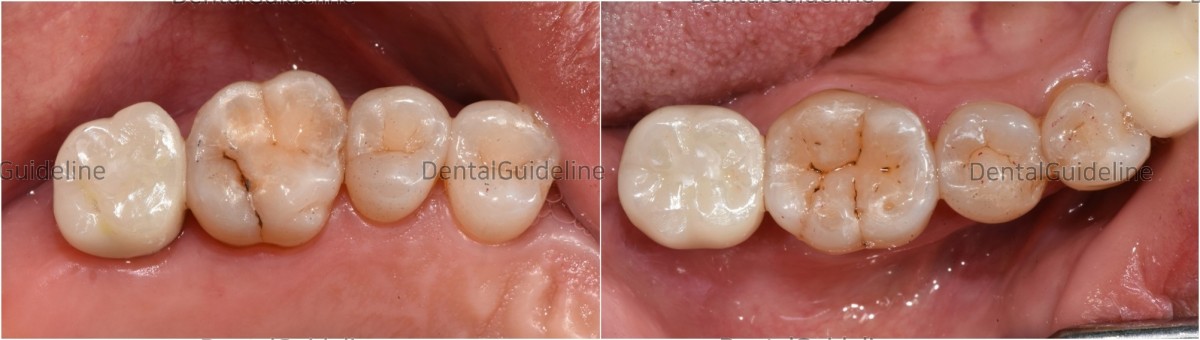
-Crown cementation.
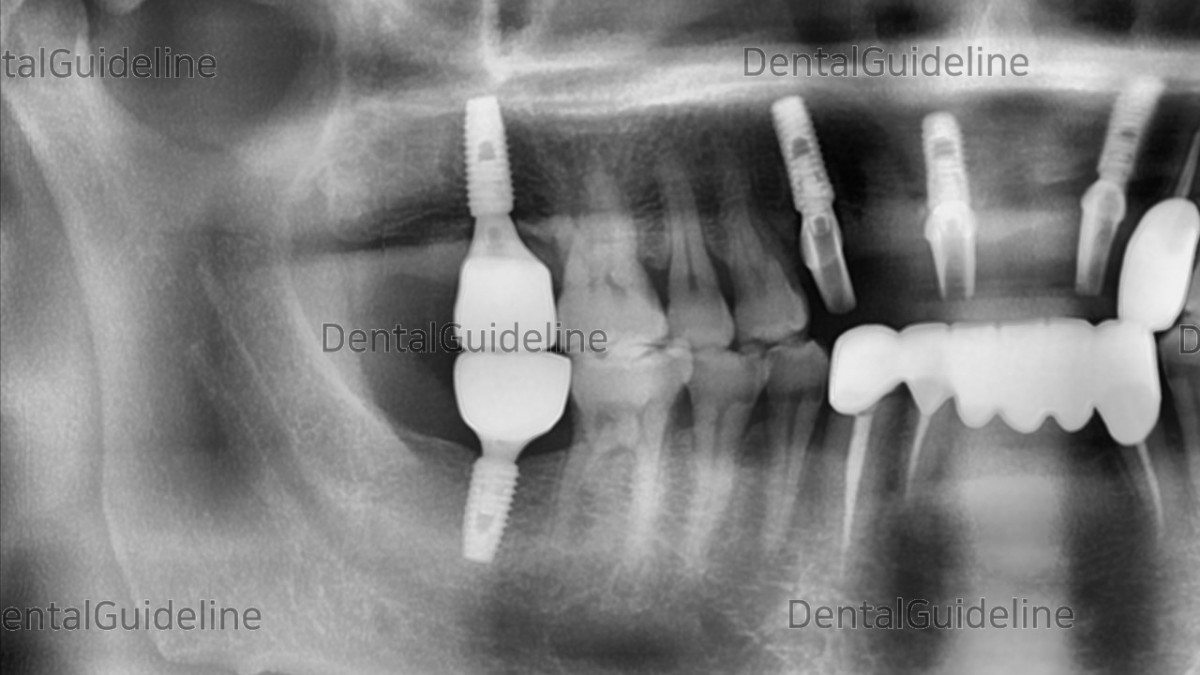
-Post-op panoramic radiograph.
As a patient who needs implants in several parts, it was decided to complete the right side first to correct the occlusion in one part and to solidify the vertical stop.
- Implants
are required for the upper and lower second molars.- Simple simulation on the CBCT image.
-Pre-op intra-oral view.
- Intra-oral view after extraction.
- Osteotomy (serial drilling but under-drilling).
- Arum Implant NB1 Ø5.0*L11.5mm.
- fixture placement.
- Check the initial stability (50Ncm).
-Collagen membrane and HA.
- Suture.
-Post-op CBCT.
- 2 weeks post-op. photo before suture removal.
- pre-op intraoral photo. 4 months after implant placement of opposing tooth.
- implant surgery was simply simulated on the CBCT scanned image.
-serial osteotomy.
-The initial stability of the fixture was good enough.
- Implant was placed in the final position. Arum Implant NB1 5*10
- suture
- post-op CBCT.
- 3 weeks post-op. before the stitches out. Due to the patient's schedule, suture removal was delayed.
- Intra-oral view on the day of impression taking.
-ISQ reading on the impression-taking day. 6 months after implant surgery.
-ISQ reading on the impression-taking day. 2 months after implant surgery).
- Scan abutments were connected to the implants for digital impression.
- A panoramic radiograph was taken to verify the secure connection between the scan abutment and the fixture.
- Scan abutment was connected to the implant for digital impression.
-Custom abutment and zirconia crown (upper & lower molar).
-Custom abutment connection.
-Seating trial.
-Crown cementation.
-Post-op panoramic radiograph.
0
- PrevMinor Tooth Movement using tooth positioning applianceJan, 09, 2023
- NextImplant and GBR in the 2nd molar Jan, 09, 2023
There are no registered comment.