Implantology
Dental Restoration
Dental Labrotary
Maxillary sinus membrane perforation & onsite resovery.

HAPPYTOGETHER
Views : 2,976/ Nov, 26, 2022
Views : 2,976/ Nov, 26, 2022
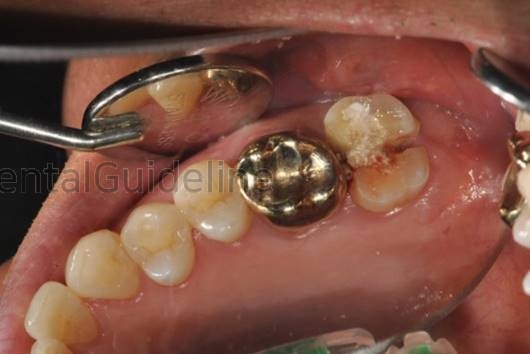
1. Intraoral photo of a patient who came to the hospital with pain due to a tooth fracture.
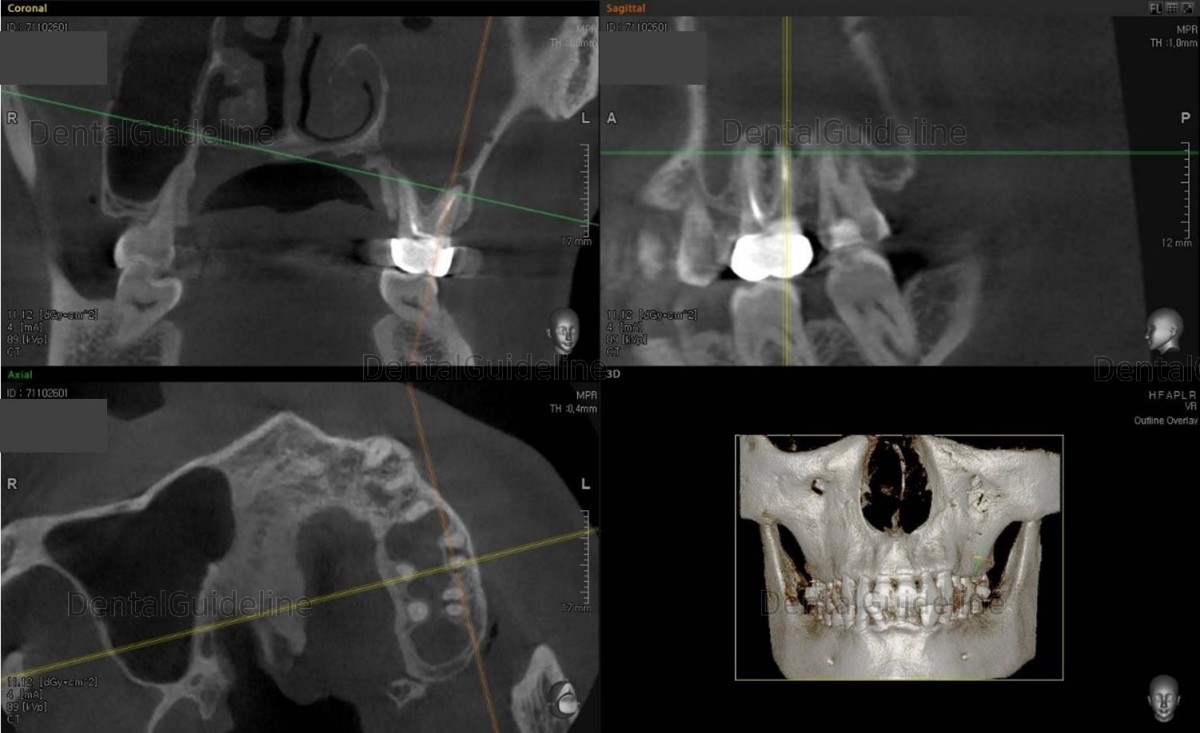
2. CBCT radiograph showed that the inflammation had already spread to the maxillary sinus, and the apical lesion was also seen in the first molar.
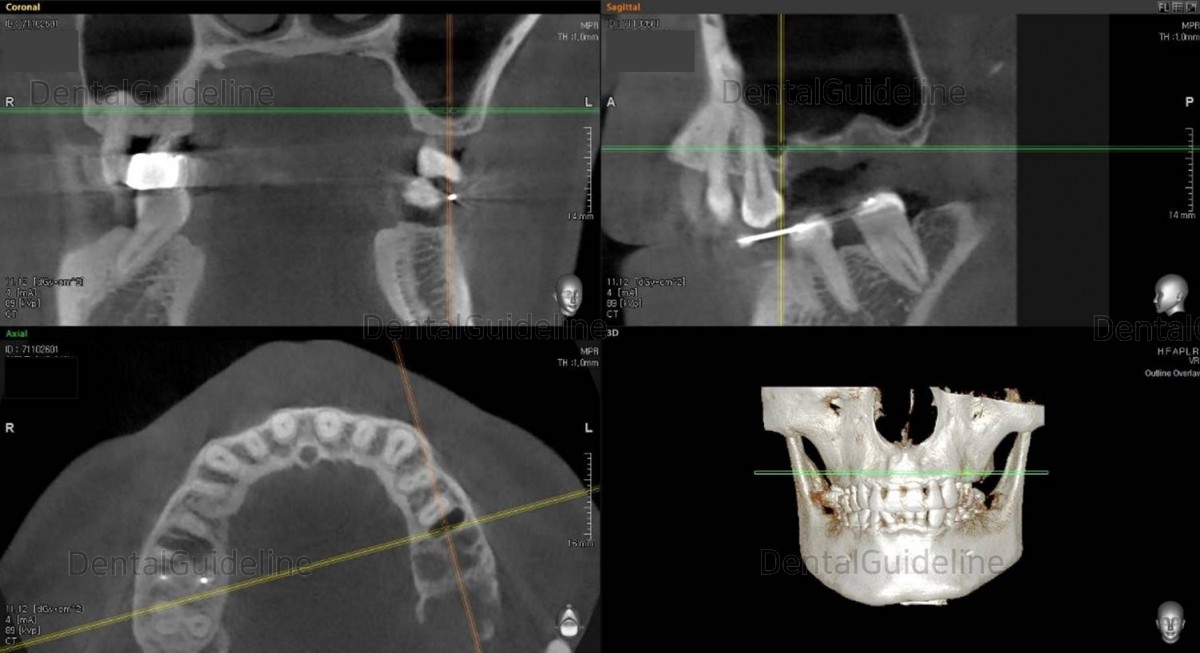
3. 2 months after tooth extraction. The tooth extraction site and the inside of the maxillary sinus healed well.
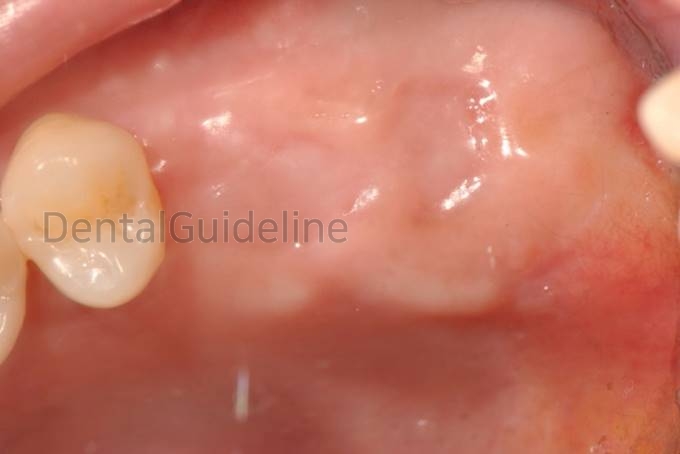
4. Intraoral photo of maxillary sinus graft day.
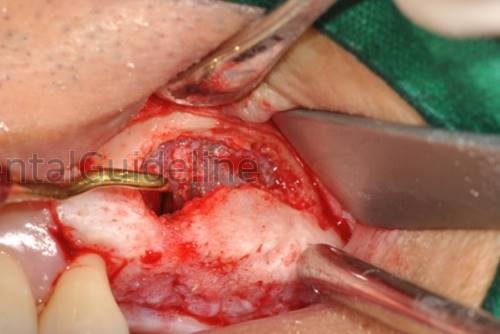
5. A lateral window was formed using a piezo surgical machine.
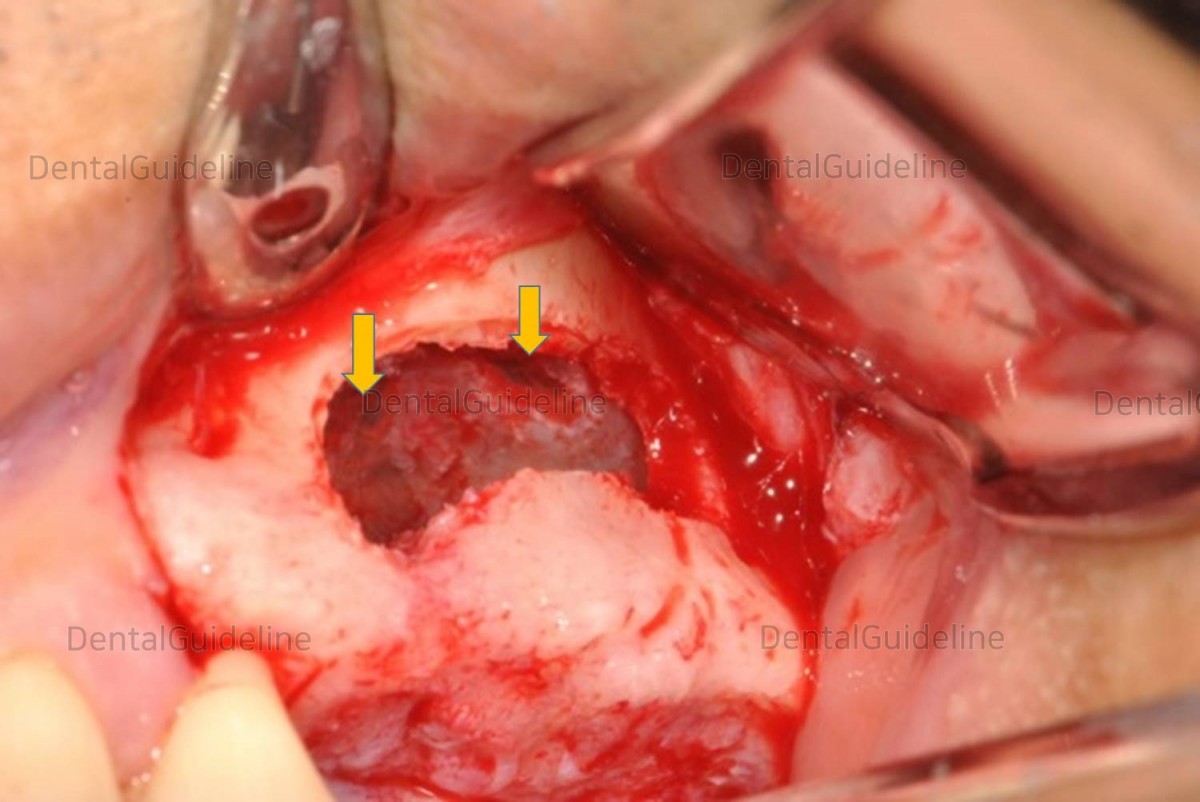
6. Small perforations of the membrane were observed in two places.
I put up the rest of the membrane, being careful not to make the hole bigger.
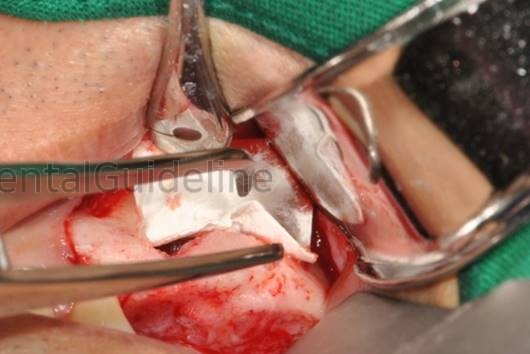
7. A collagen membrane will be used to form the ceiling of the graft, including the puncture site.
(LYOPLANT®, B.BROWN CO.)
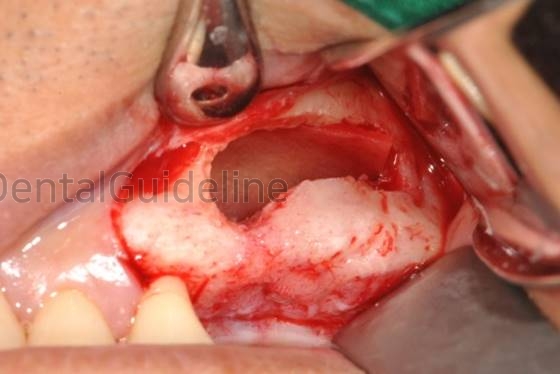
8. Block the perforations with a sufficiently wide collagen membrane.
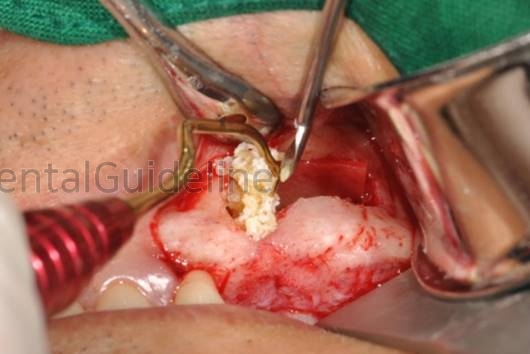
9. The graft material is inserted into the maxillary sinus. First, fill in the anterior region of the maxillary sinus.
(FDBA)
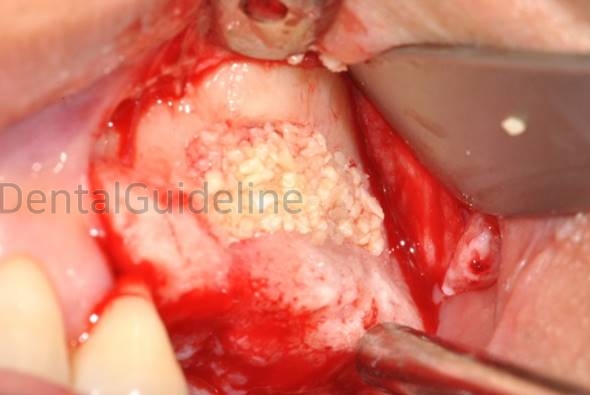
10. The graft was done.
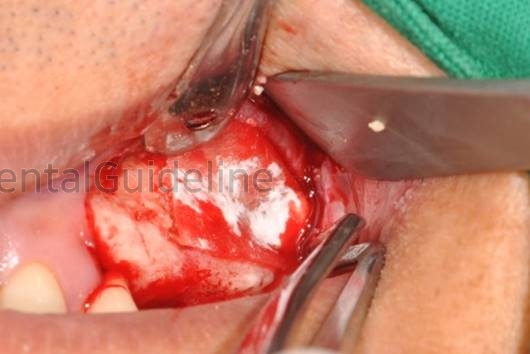
11. The outside of the graft surface was covered with the same membrane used above.
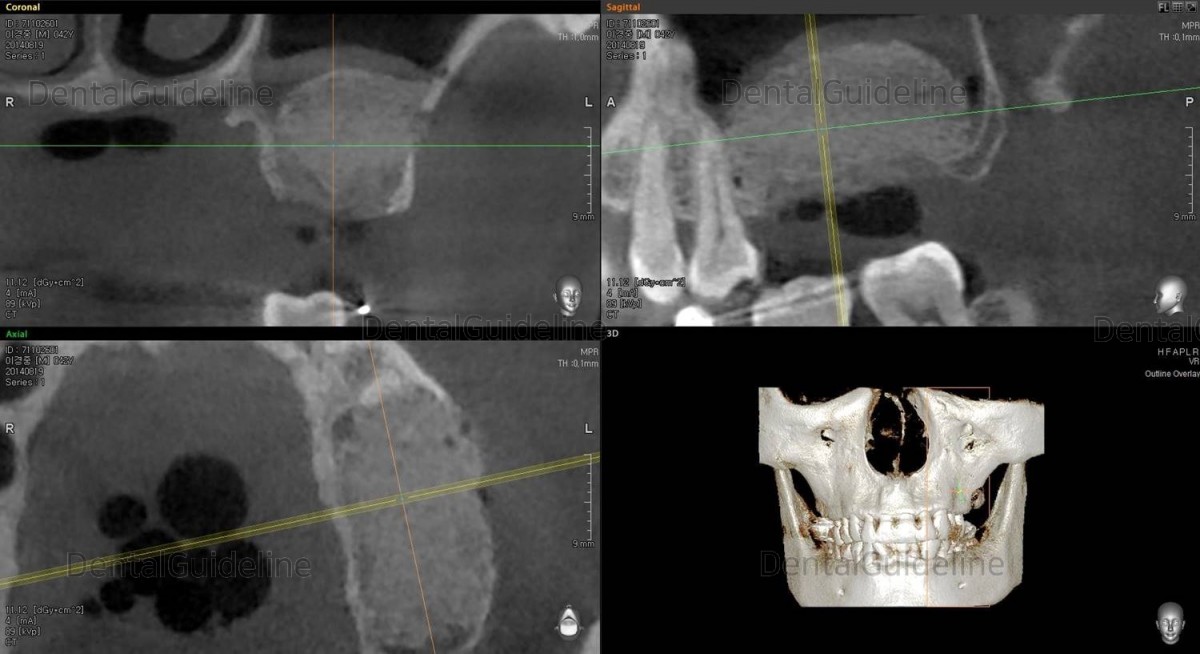
12, CBCT immediately after maxillary sinus graft.
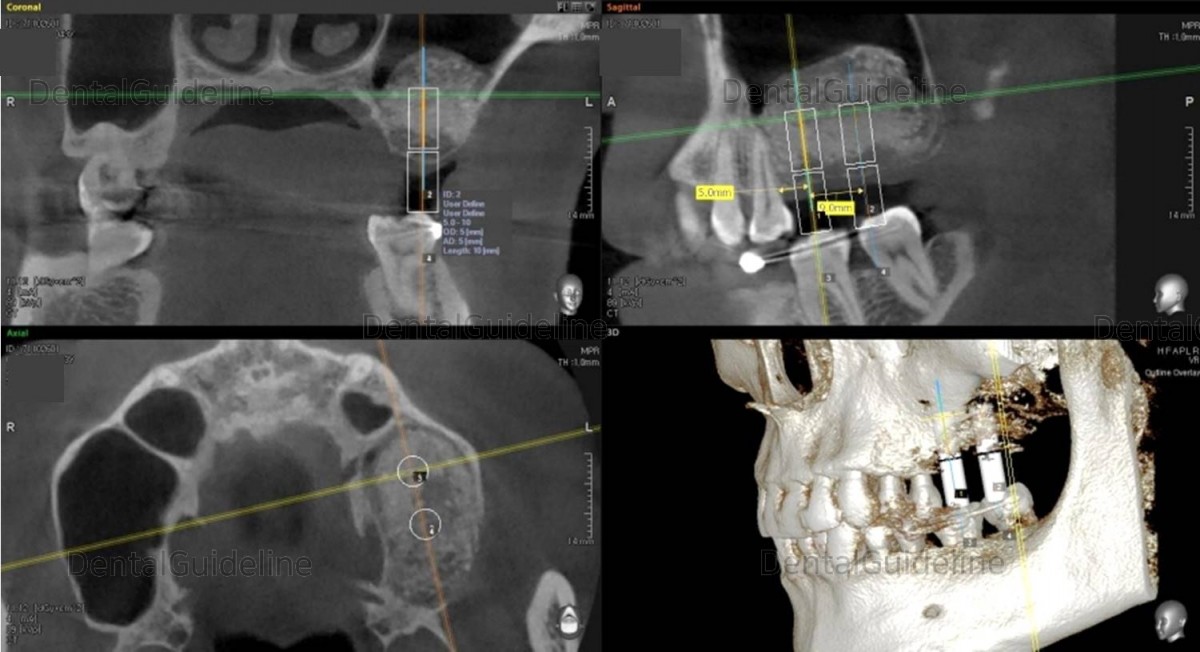
13. 3.5 months after the graft, A simple simulation of implant placement was performed using CT.
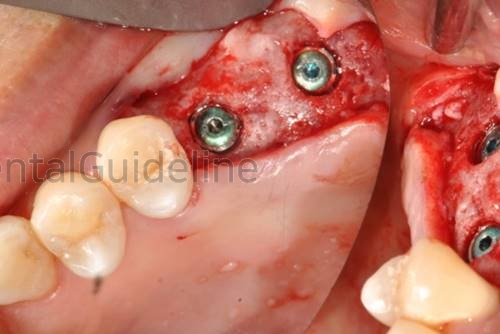
14. 2 implants were placed.
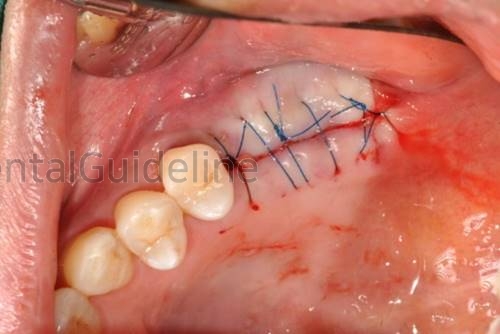
15. Suture.
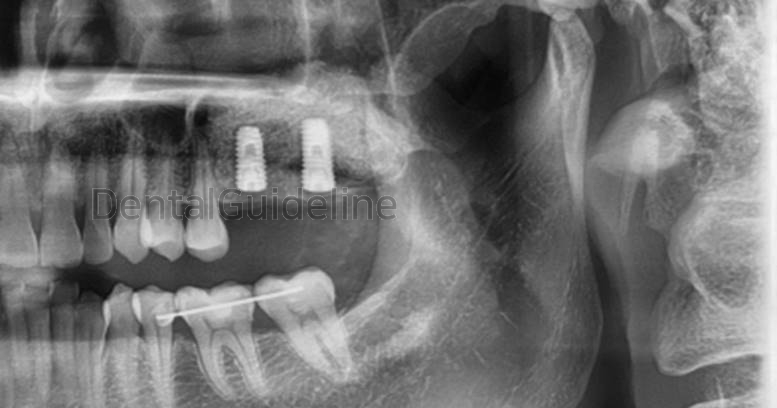
16. Panoramic radiograph after implant placement. (5*10mm, 5*11.5mm)
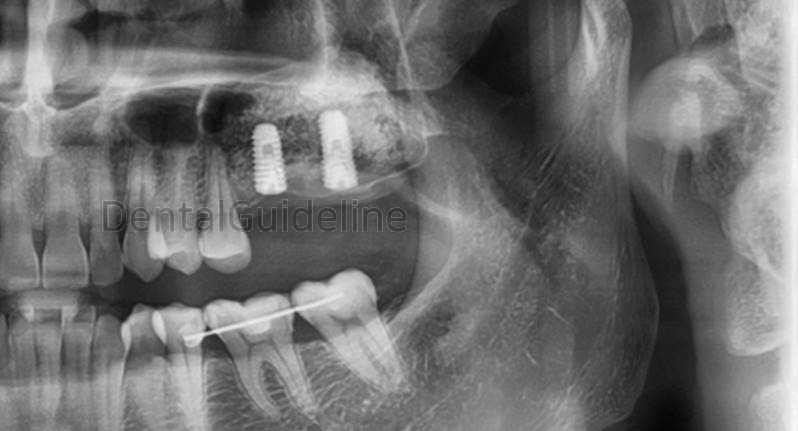
17. 5.5 months after implant placement.
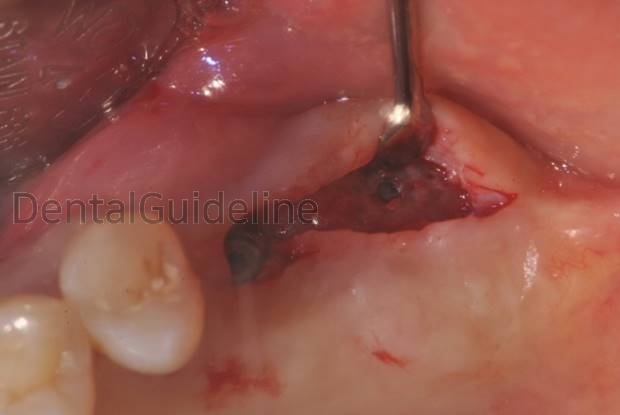
18. on the day of 2nd surgery.
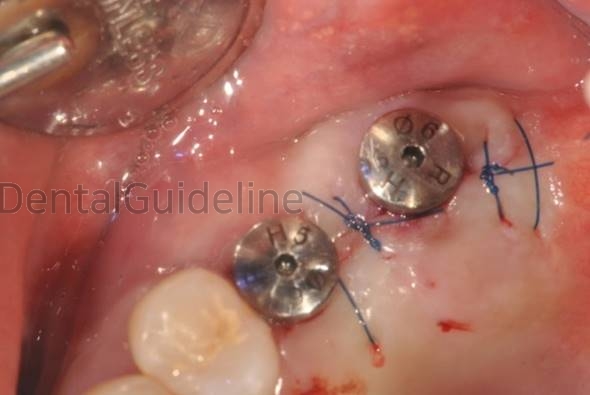
19. Healing Abutment connection.
20. impression taking.
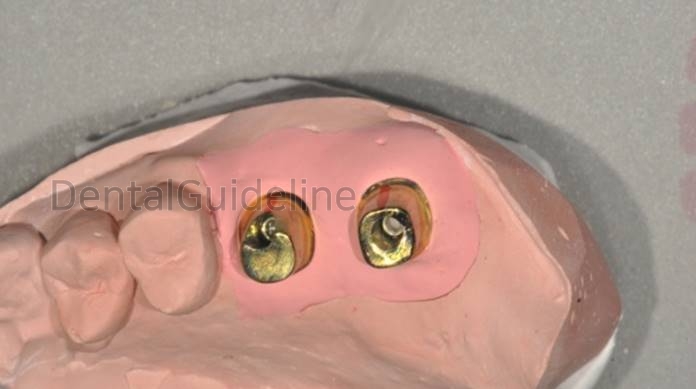
21. the custom abutment on the working model.
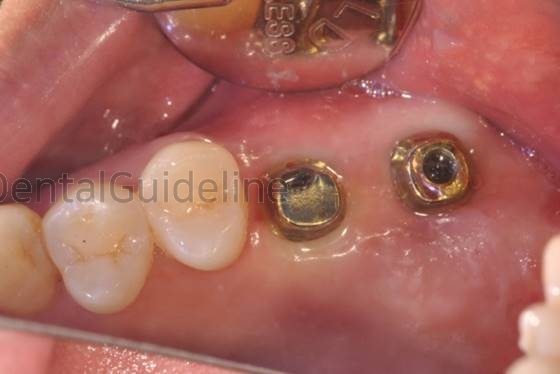
22. The abutment was connected to the fixture.
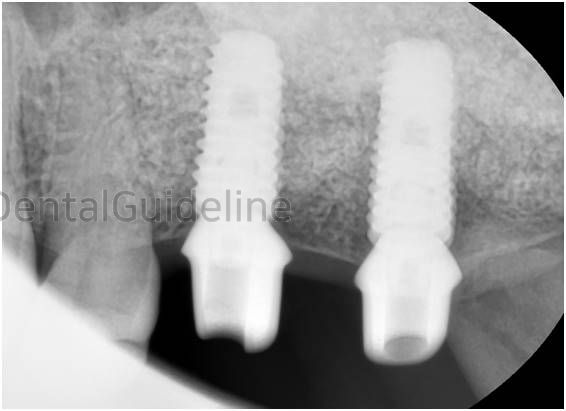
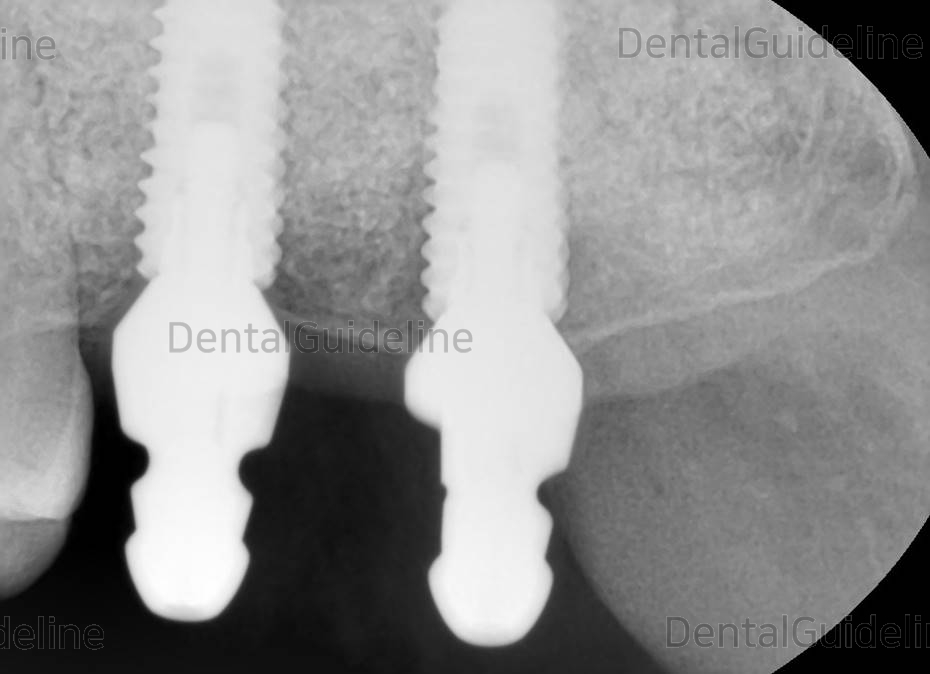
23. Intraoral radiograph was taken to verify the secure connection.
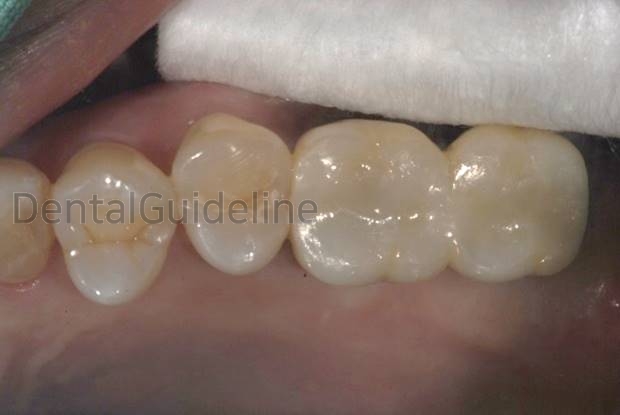
24. Implant-supported restoration.
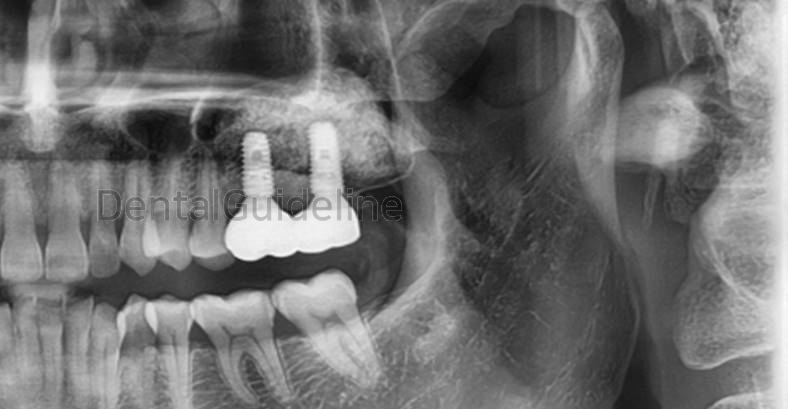
25. panoramic radiograph.
0
- PrevSingle implant after root rest removal, GBRNov, 26, 2022
- NextBig-sized cyst in the right maxilla. Piezo (ultrasonic) surgical machine. Nov, 26, 2022
There are no registered comment.


