Implantology
Dental Restoration
Single implant installation (video of fixture unpacking)

HAPPYTOGETHER
Views : 825/ Nov, 13, 2022
Views : 825/ Nov, 13, 2022
A 37-year-old female patient had oral problems:
On the left side; the upper 2nd molar showed extrusion due to an opposing missing tooth (lower 2nd molar).
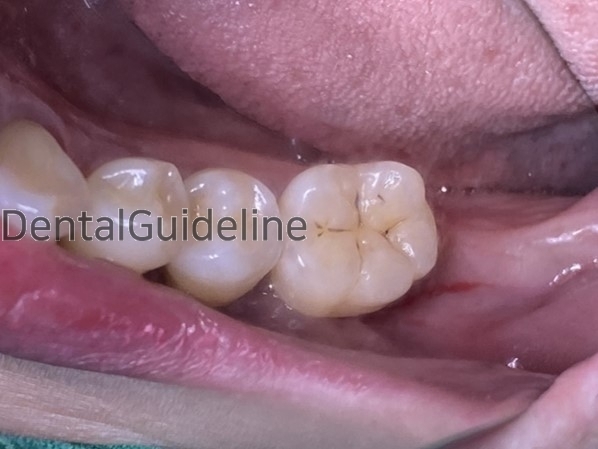
1. Intraoral view before surgery
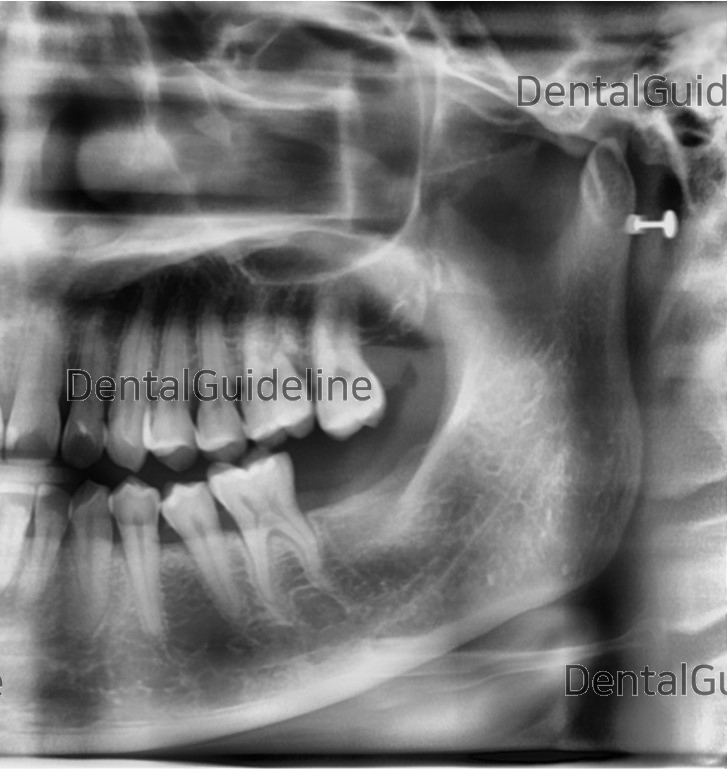
2. Pre-op panoramic radiograph.
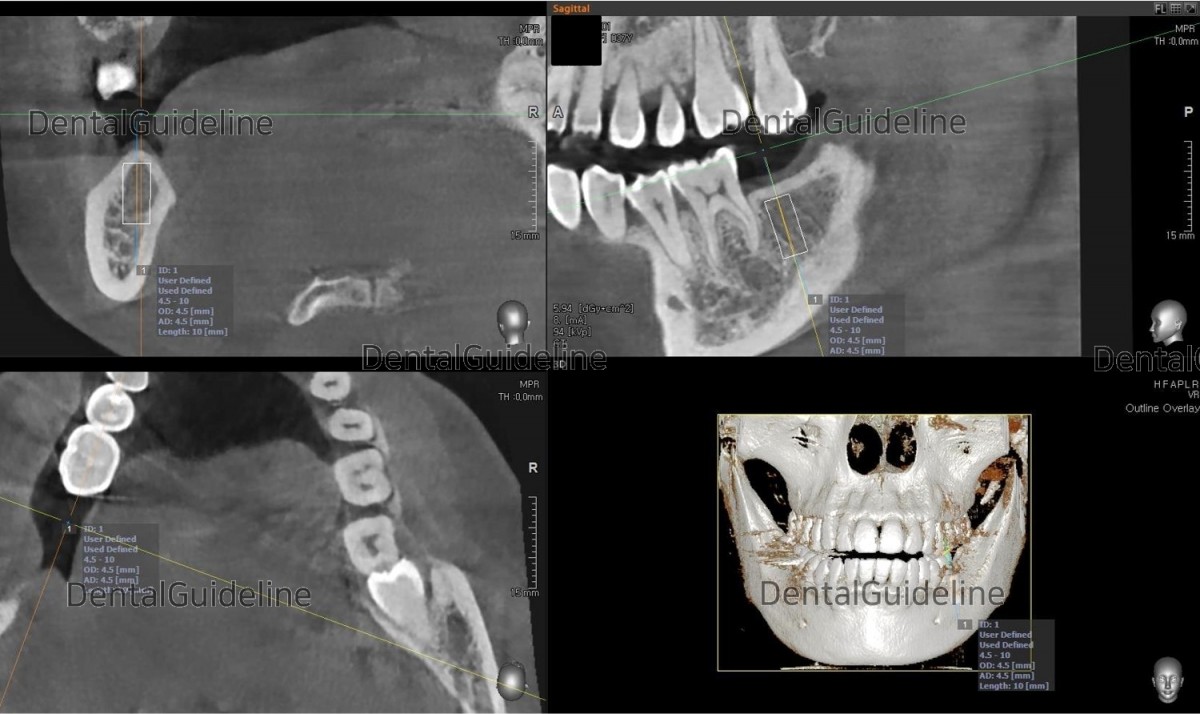
3. CBCT scan and simple surgical simulation.
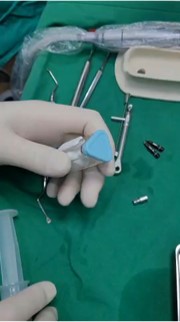 Video - https://youtu.be/KPROBgO3DJs
4. video of fixture unpack
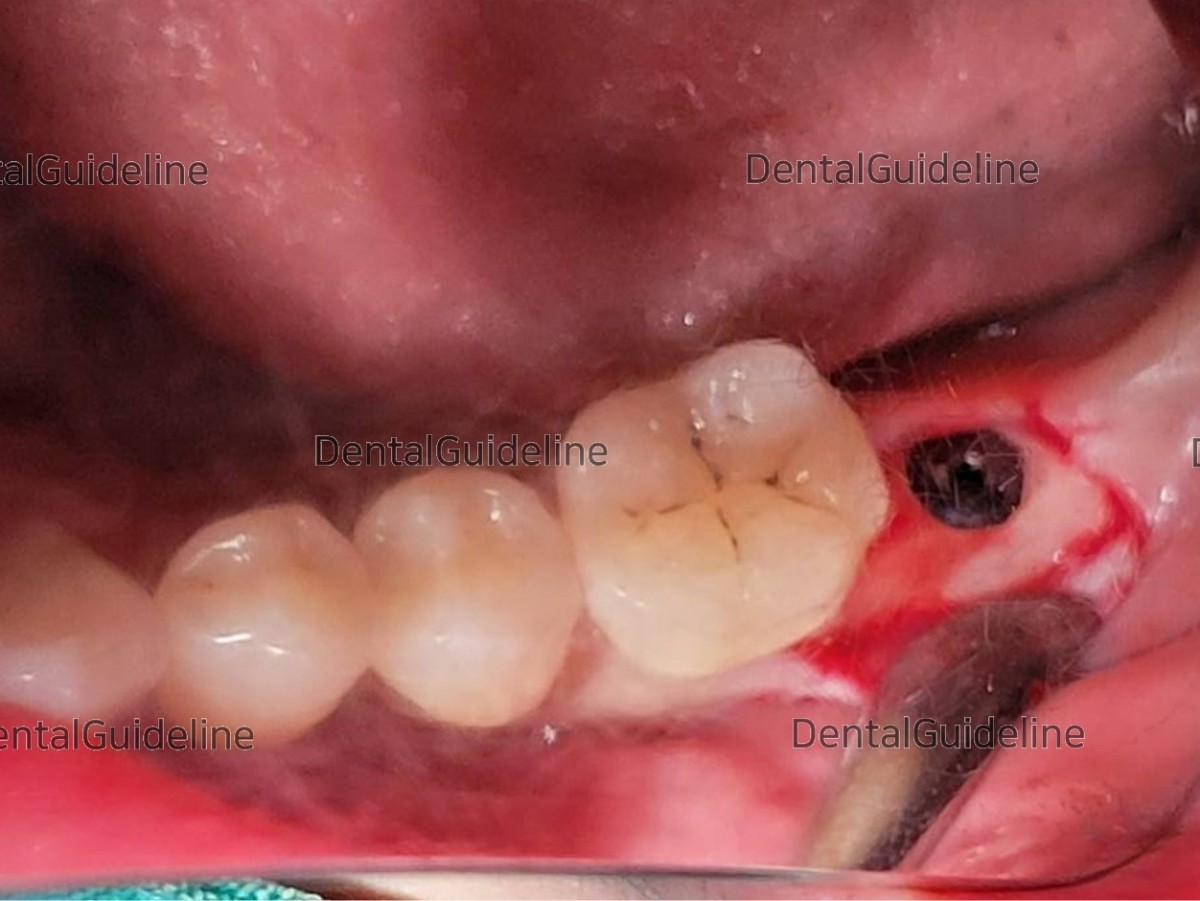
5. Serial osteotomy and placement of the implant (Arum Dentistry Co. NB1 Ø4.5/L10, 30Ncm).
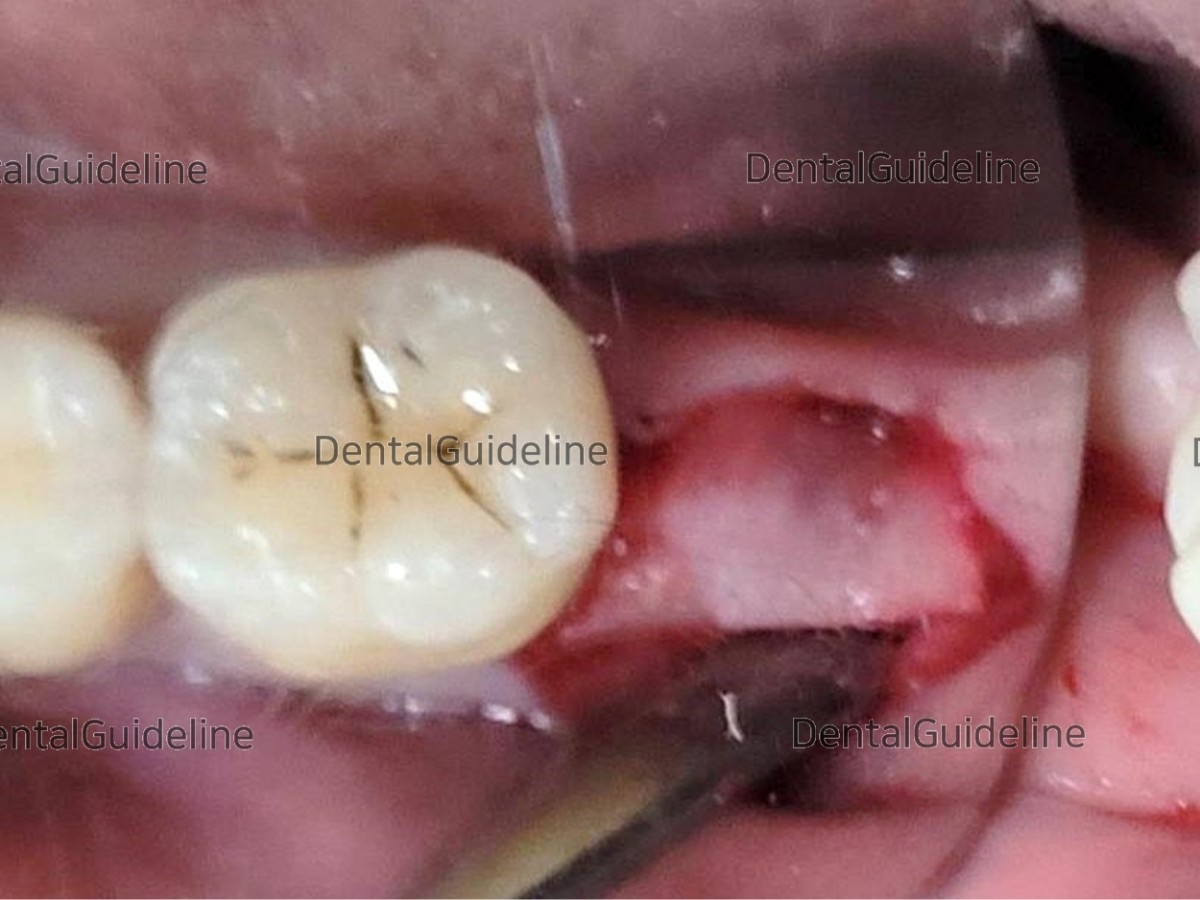
6. A collagen membrane was used to protect the surgical site.
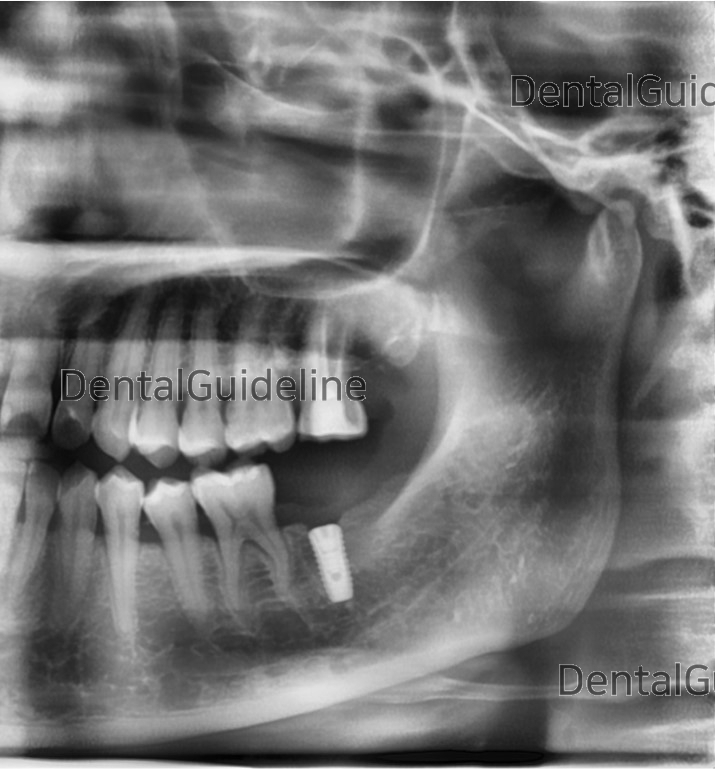
7. The panoramic radiograph on the day of implant placement.
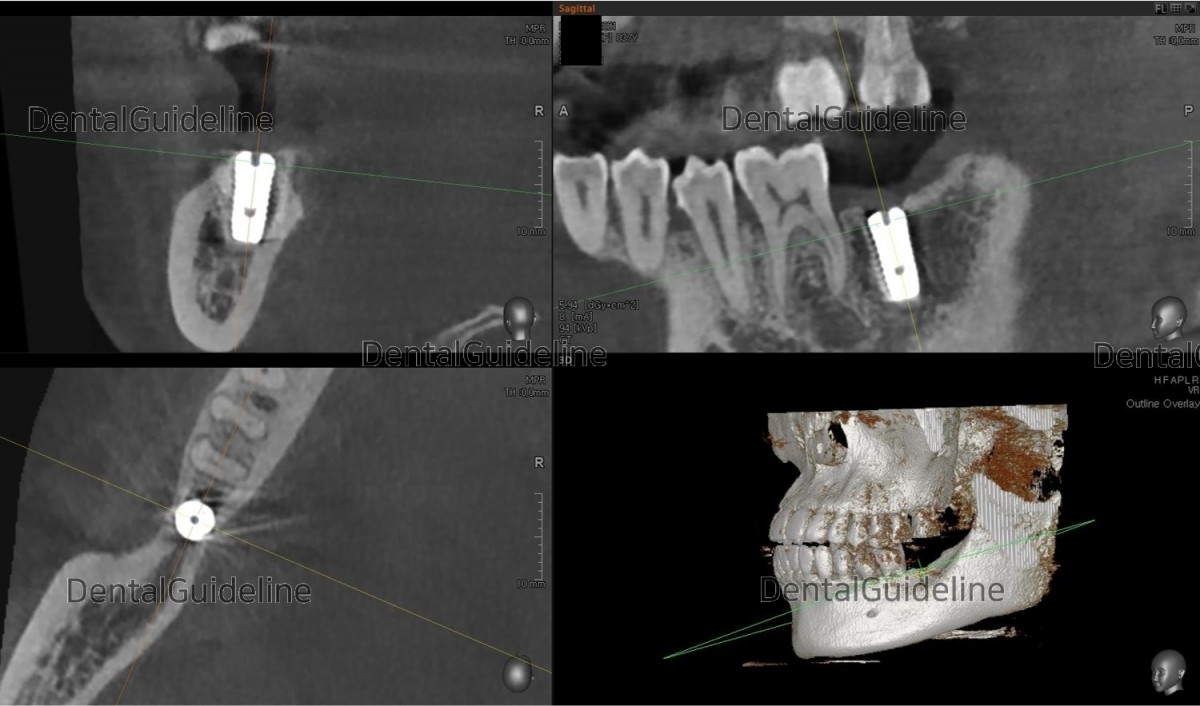
8. CBCT scan view
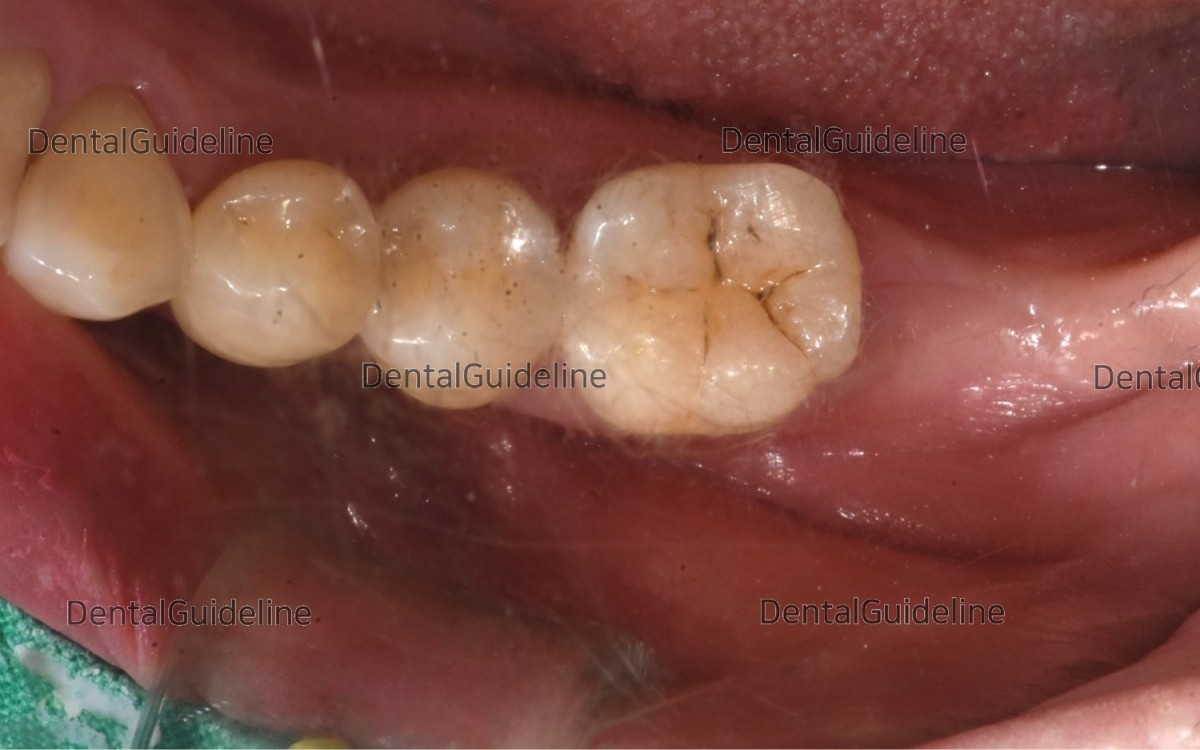
9. Post-op 10week, intra-oral photo on the day of uncovery.
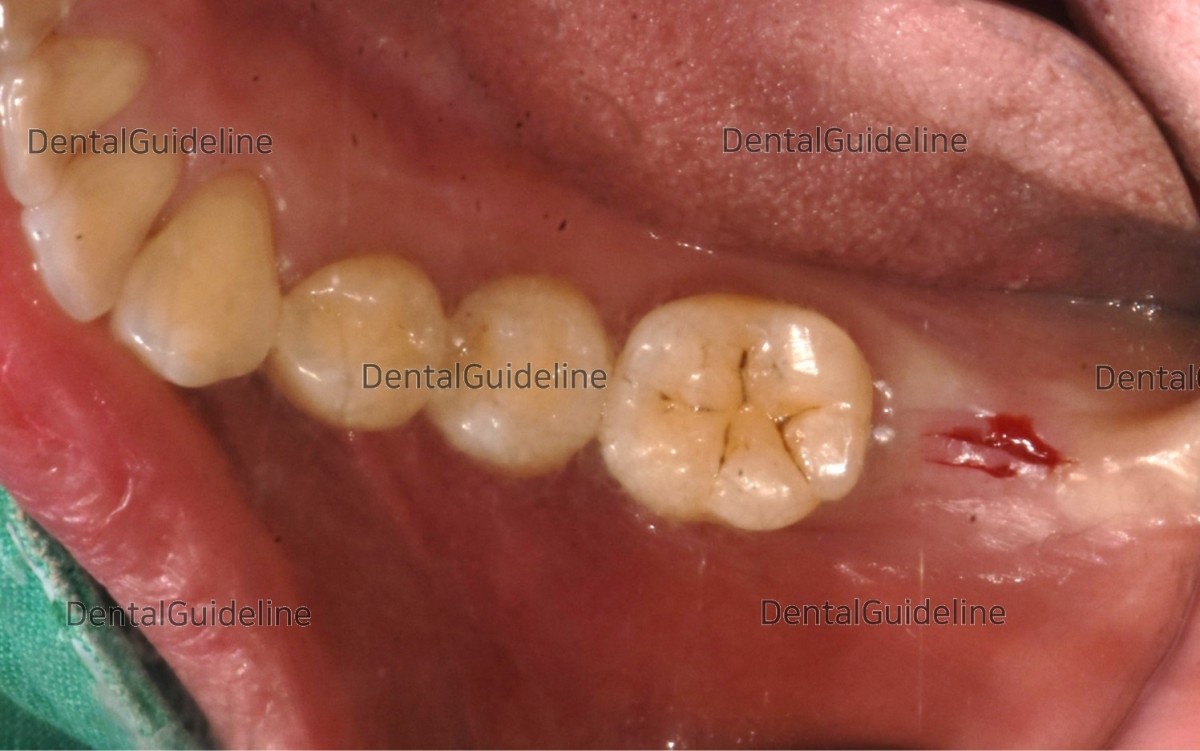
10. A linear incision was given on the attached gingiva to secure the attached gingiva.
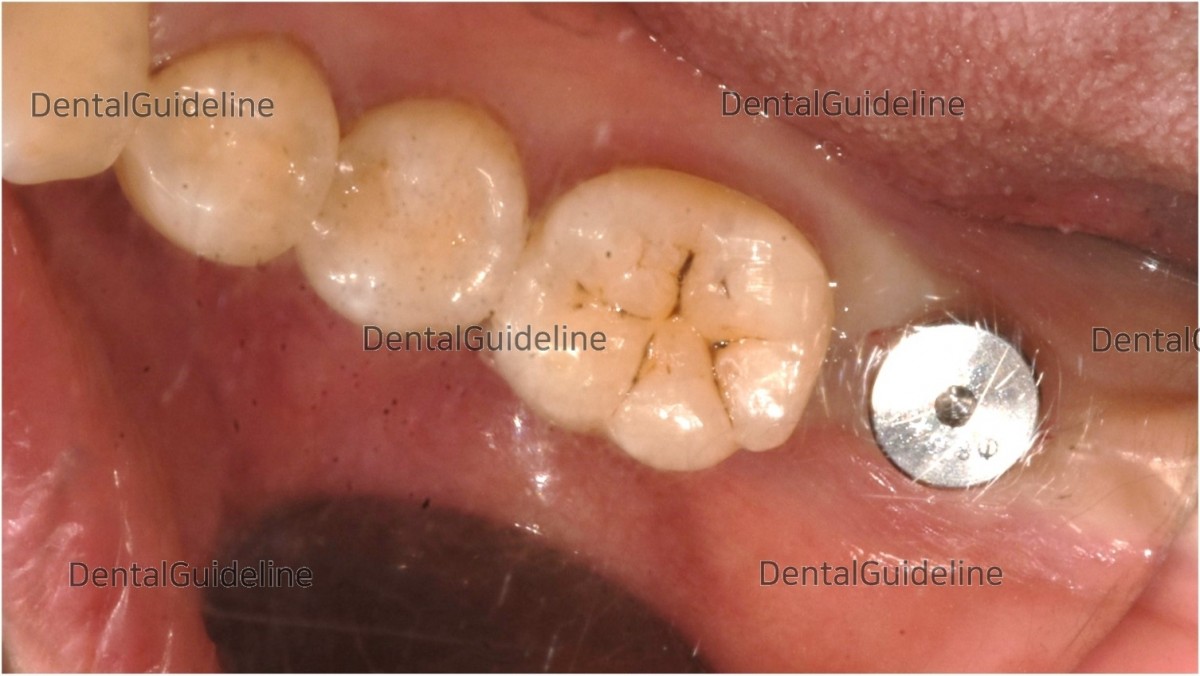
11. Healing Abutment engagement by expanding soft tissue to form the dense sulcus of the gingiva.
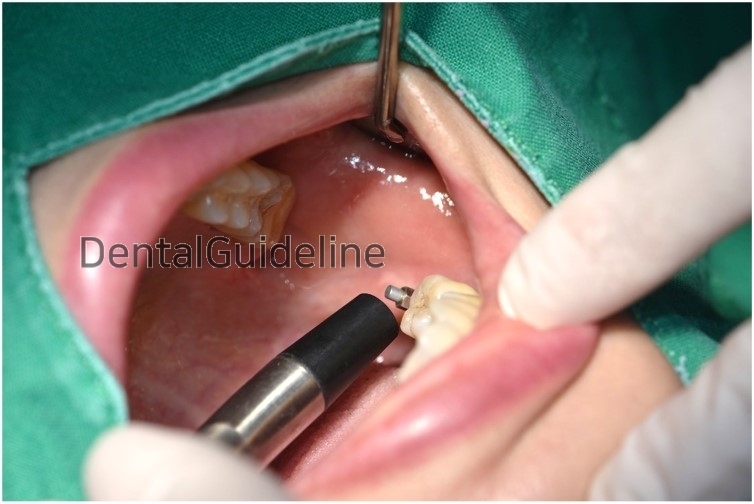
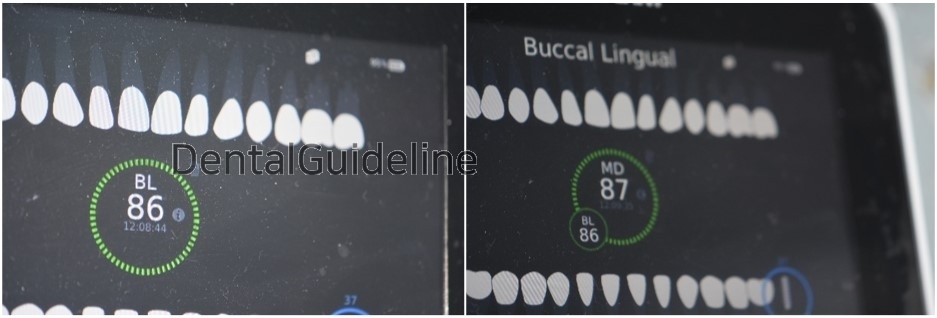
12. ISQ measurement (10 weeks after the placement of implant). Photos showed that ISQ values were good enough for loading.
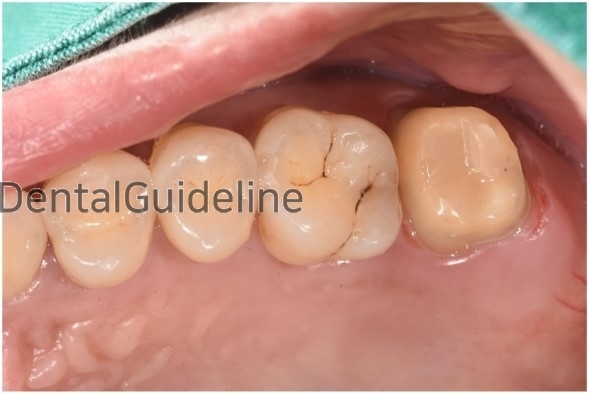
13. The extruded opposing tooth was scheduled to be crowned.
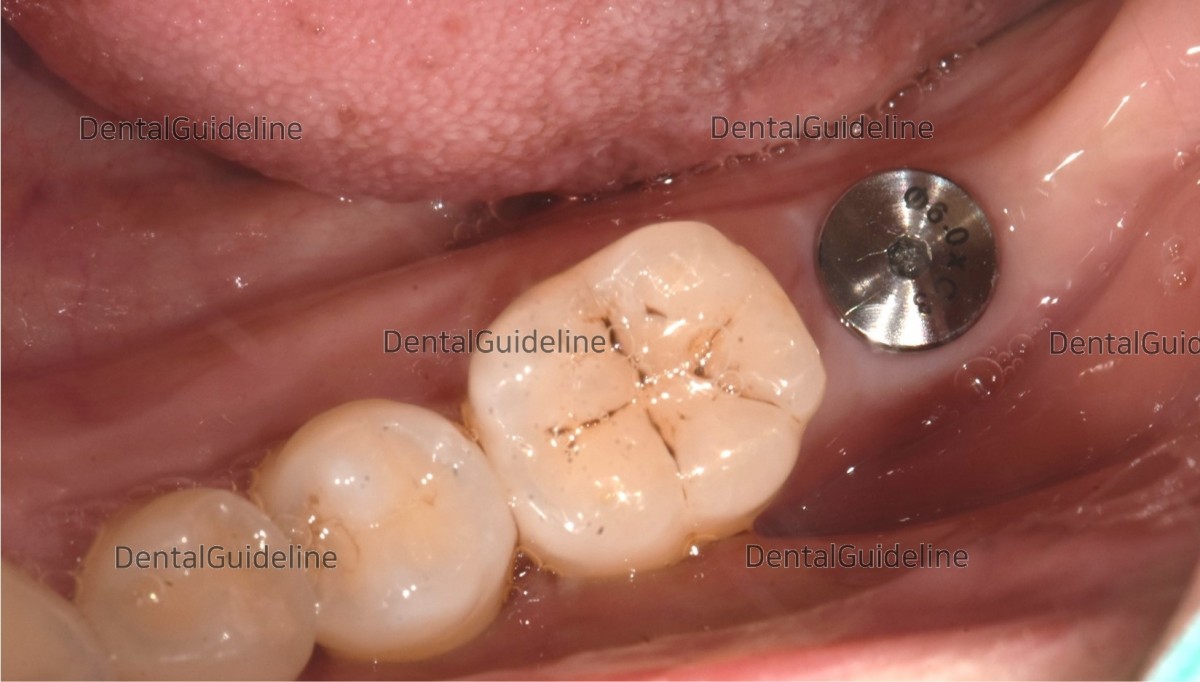
14. Intraoral photo on the day of impression taking.
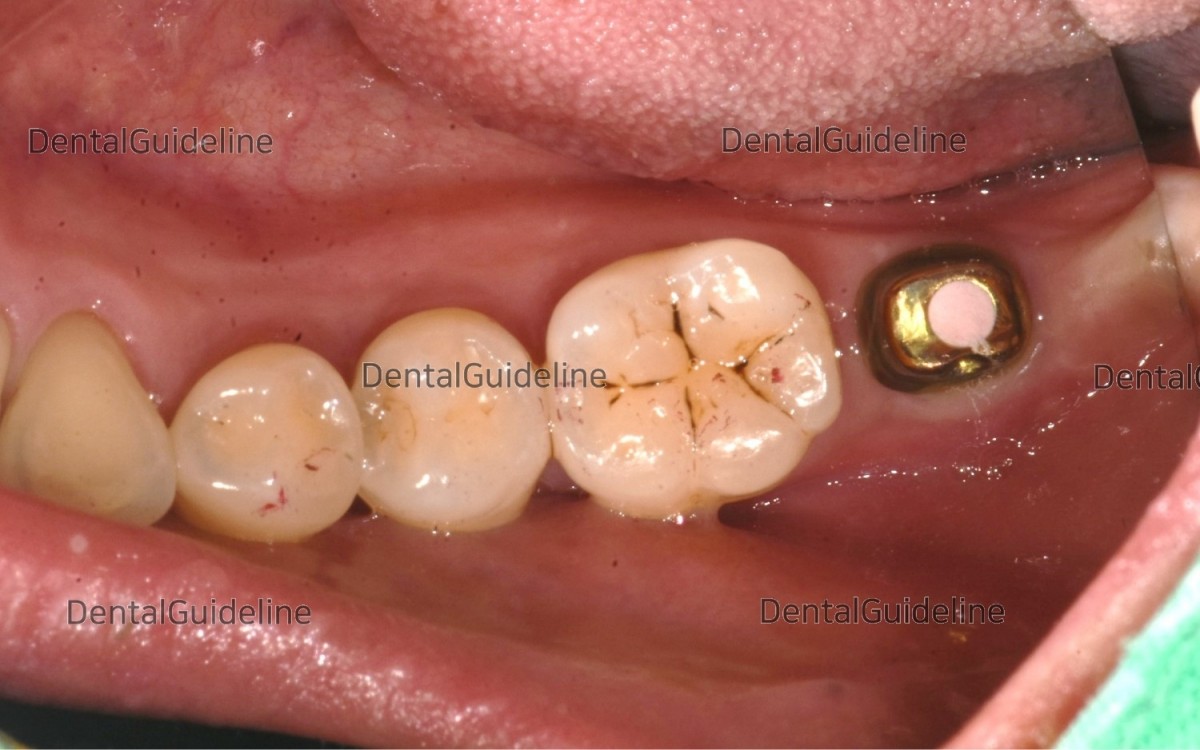
15. A customized abutment was connected to the fixture according to recommended torque value and the screw hole was filled with a temporary filling material.
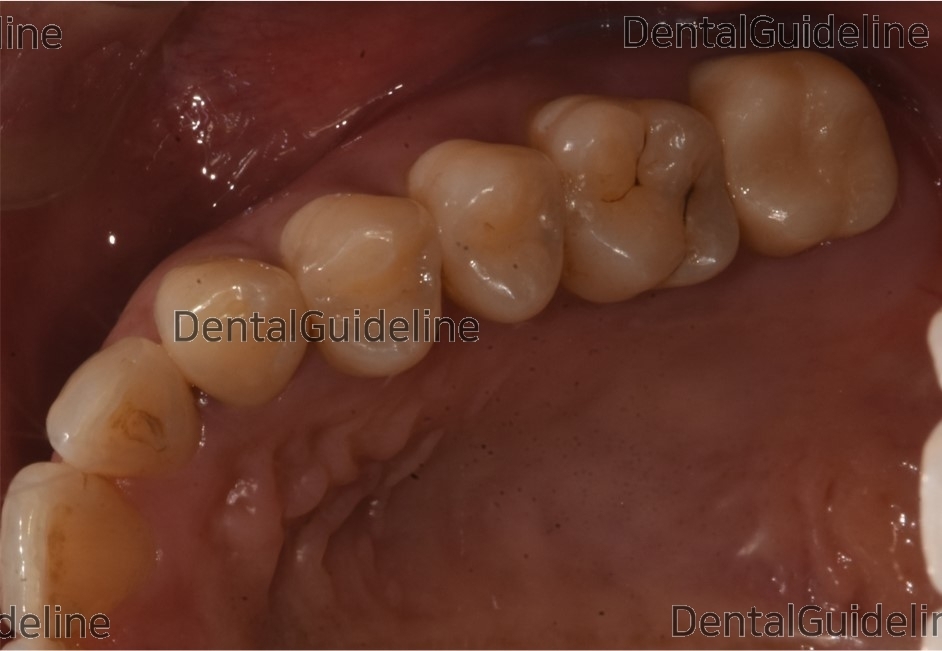
16. The opposing tooth was restored with a crown.
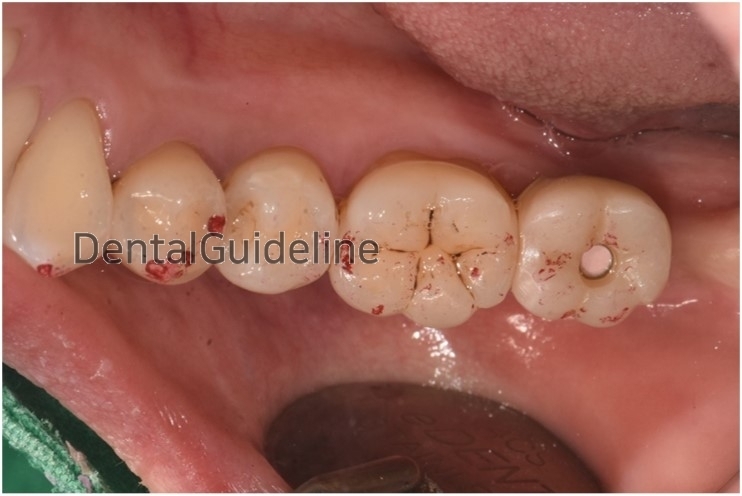
17. The occlusal adjustment was done and the access hole on the crown was filled with composite resin.
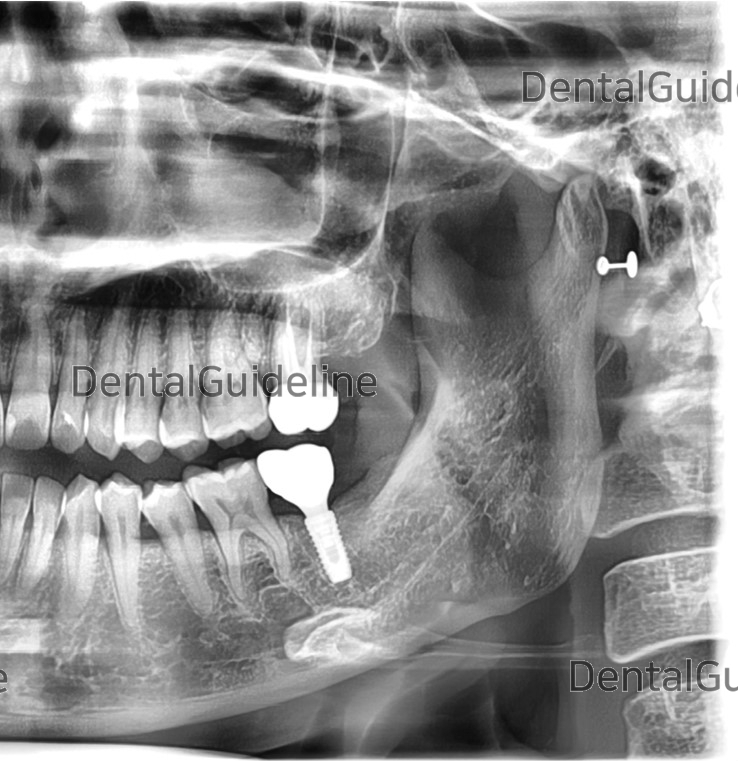
18. A panoramic radiograph was taken after the restoration of the upper and lower 2nd molar.
0
관련링크
- PrevMaxillary Sinus Graft, Implant, MTM(Minor Tooth Movement), Oral ScanningNov, 13, 2022
- NextTwo Implants placement with GBR (ARUM DENTISTRY Co.) Nov, 13, 2022
There are no registered comment.


